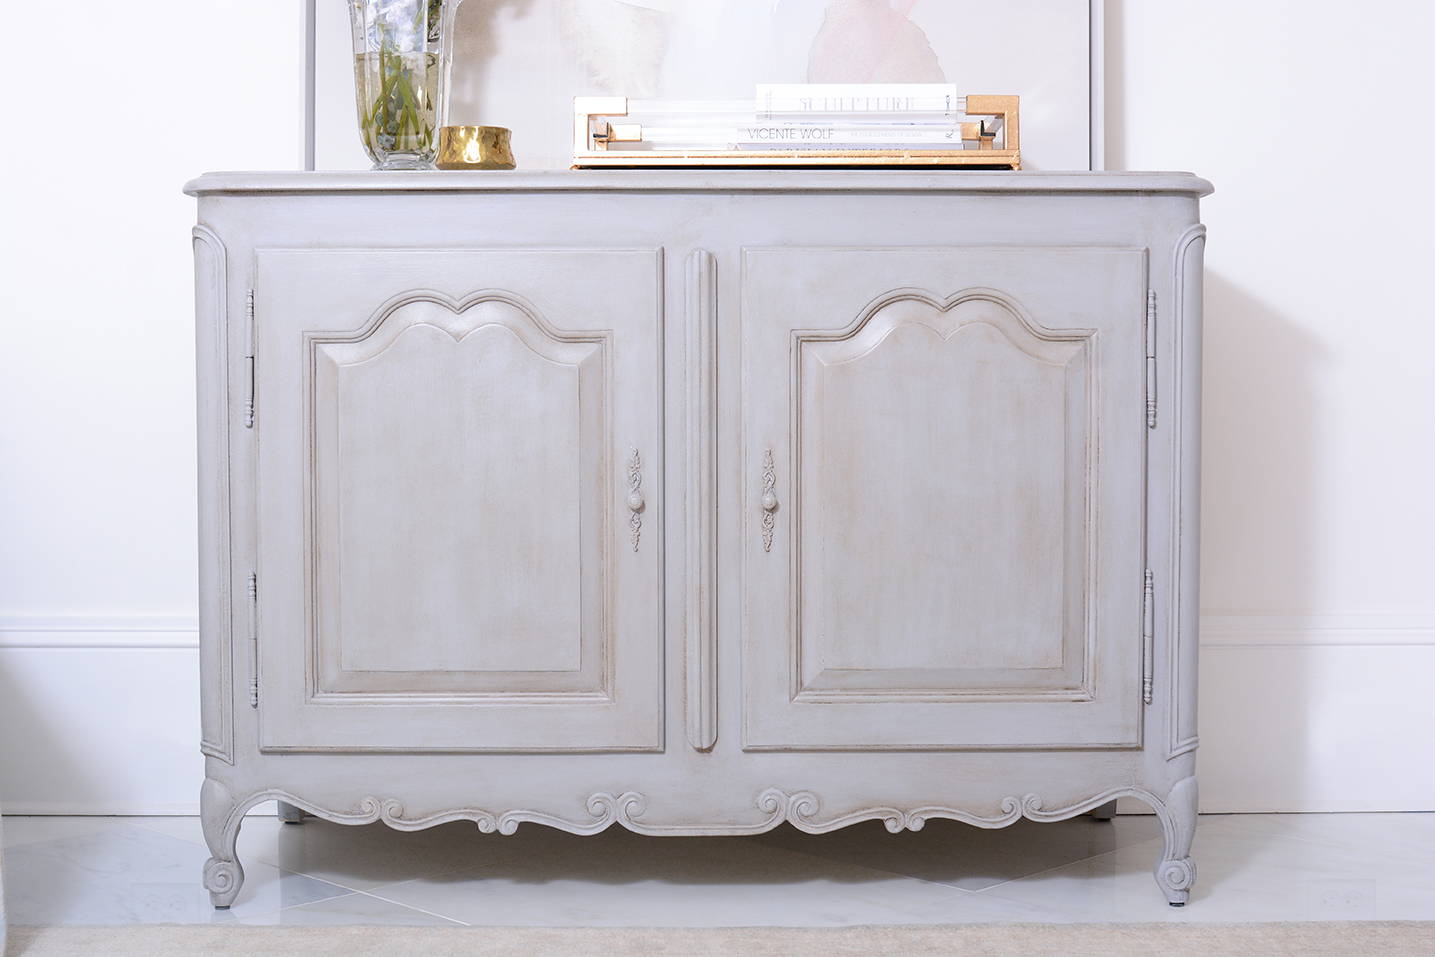
The Textured Paint Finish on furniture is used to achieve a more rustic look, especially when used with coloured Jolie Finishing Waxes. It highlights imperfections and carvings while creating depth on flat surfaces.
Read on for step-by-step instructions or check out our instructional video below.
Tools & Materials
- Jolie Paint
- Jolie Finishing Wax – Clear
- Jolie Finishing Wax – Black, Brown or White
- Lint-free cloths
- Jolie Signature Brush
- Jolie Wax Brush
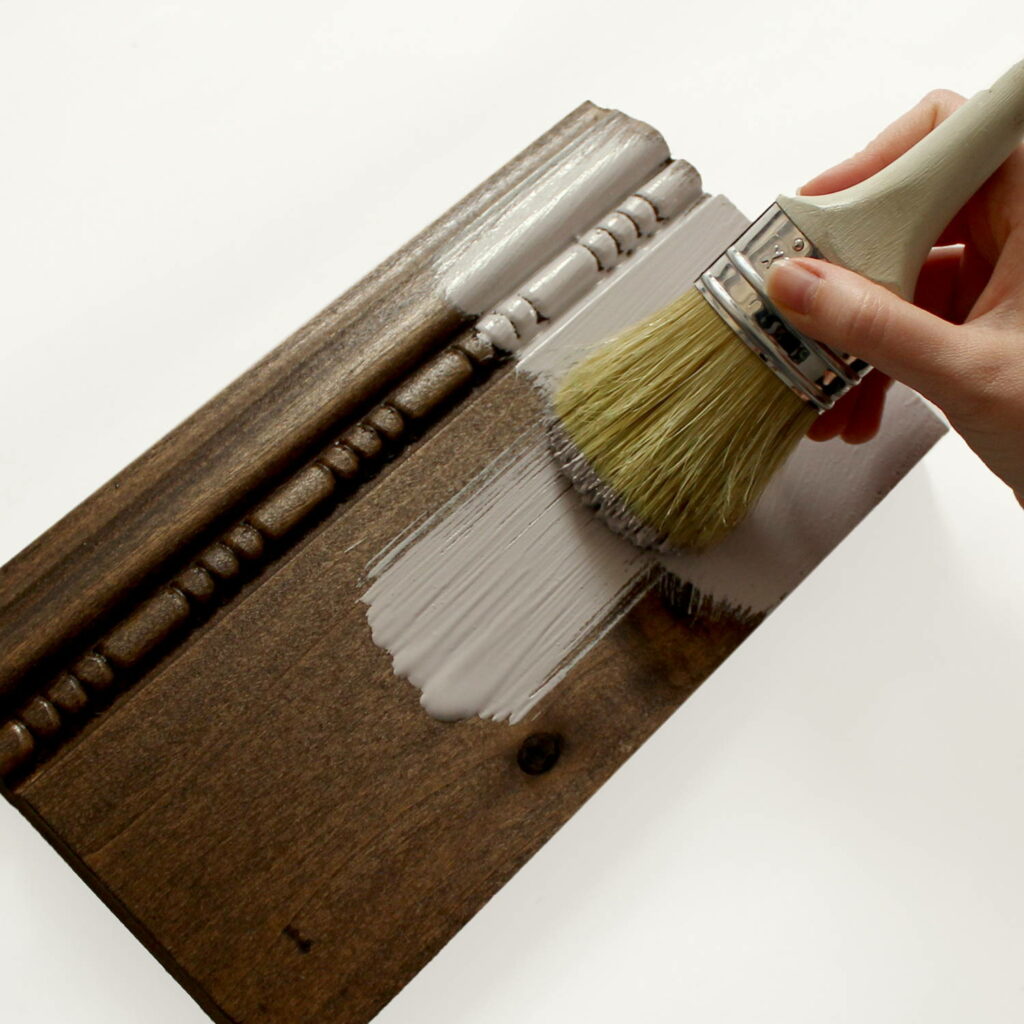
Step 1
Apply a liberal coat of Jolie Paint using a Jolie Signature Brush. Paint in every direction in a crosshatch pattern, leaving generous amounts of thick and uneven texture. Allow the paint to dry partially for a few minutes until some (but not all) areas begin to dry. Do not let the surface dry completely.
PRO TIP: To thicken your Jolie Paint, leave the lid off for about 30 minutes before painting.
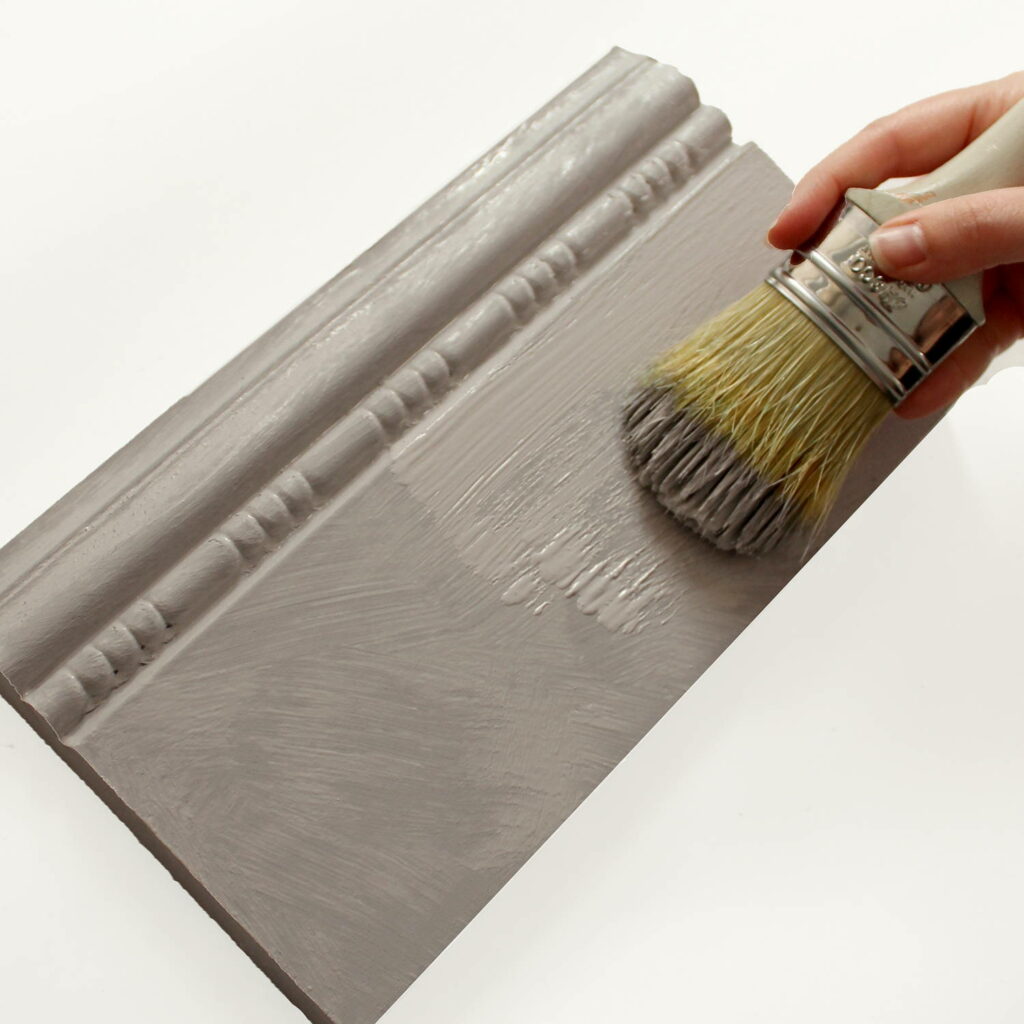
Step 2
While the paint is beginning to dry, load your Signature Brush with paint. Lay the bristles angled to the side and gently drag and pull your brush across the surface. The fresh paint will latch on to the still damp first coat, creating additional texture. To vary your texture, pounce the brush in a few areas. Please note: because of the thickness of application, this finish will require additional time to dry.
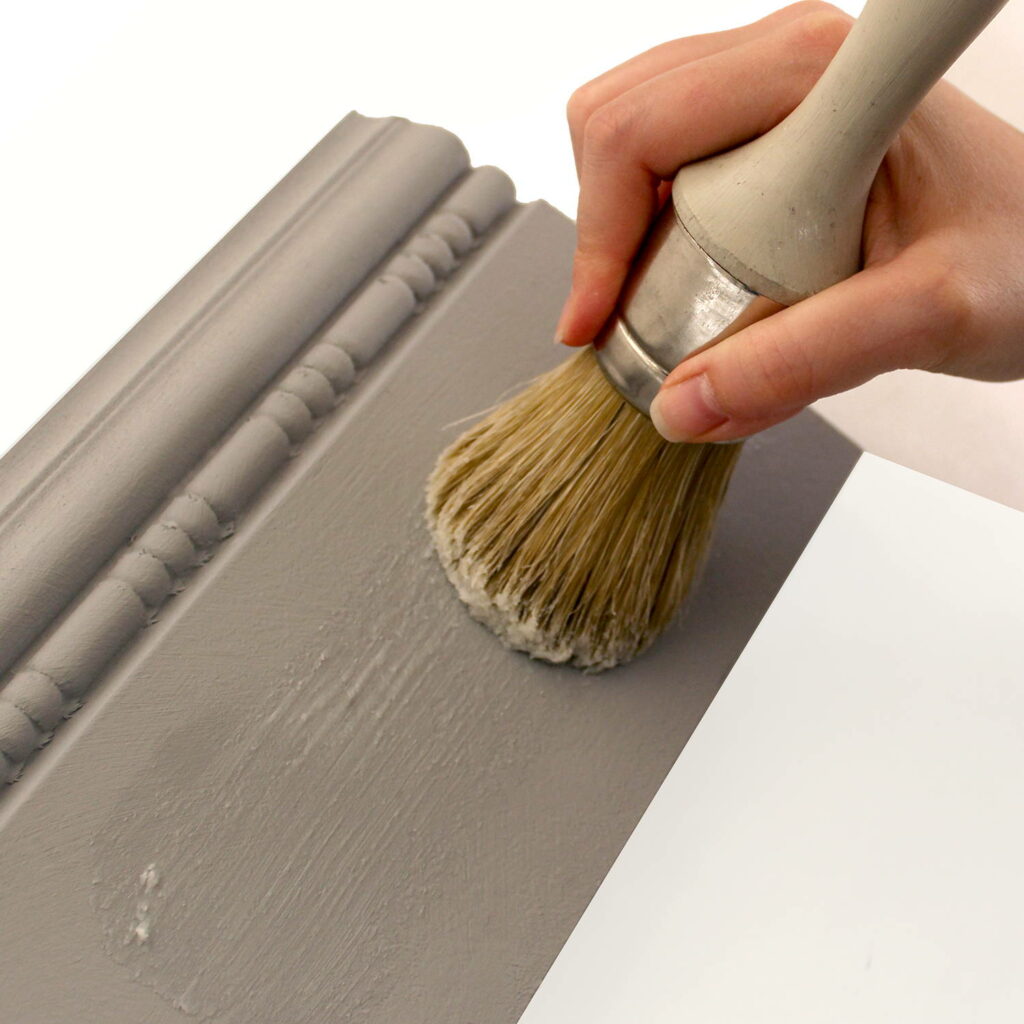
Step 3
Use your Jolie Wax Brush to apply a small amount of Jolie Finishing Wax in Clear. Working in manageable sections of 2-3 square feet at a time, use a gentle sweeping motion to work the Clear Finishing Wax into the paint. Work in every direction, just as you did with your paint brushstrokes. You will see the Jolie Paint color become slightly darker after the wax is applied. Proceed to step four before beginning to wax the next section.
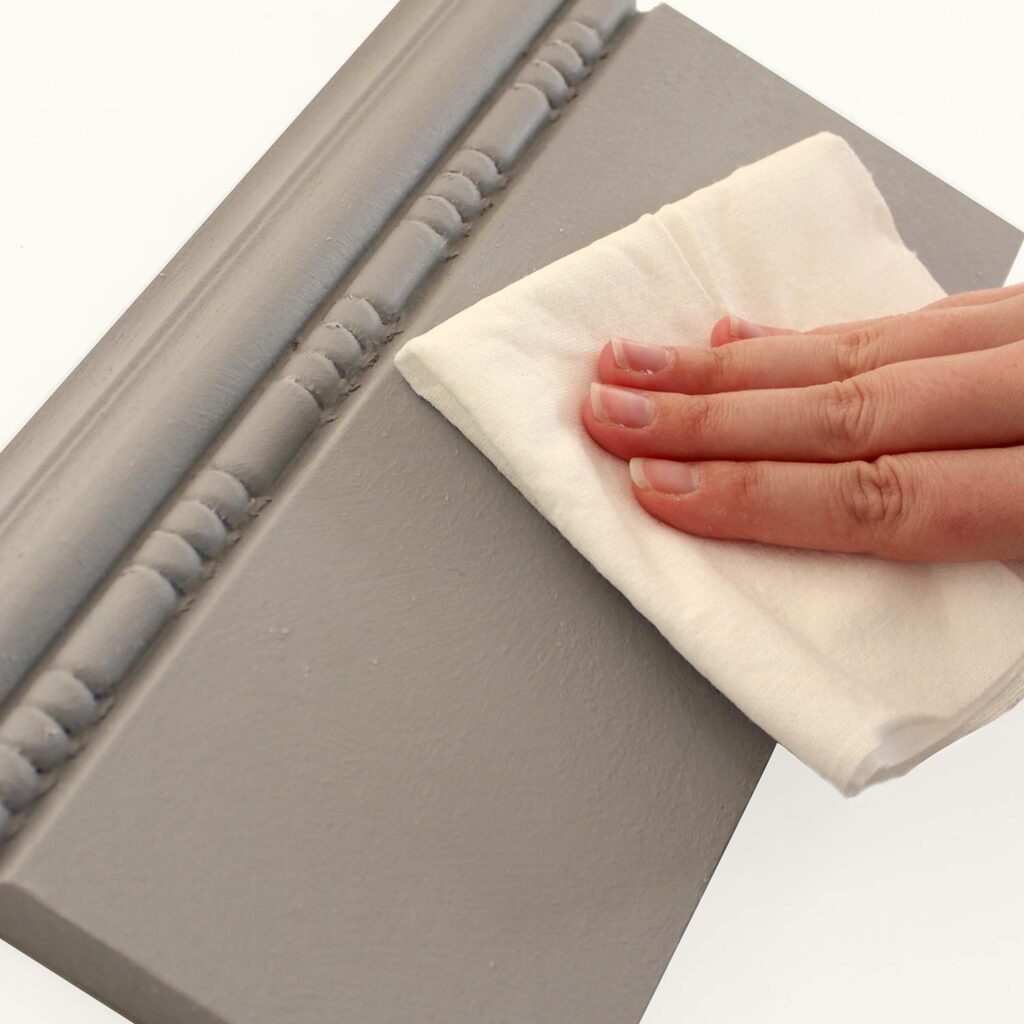
Step 4
Any surplus of wax should be wiped away using a lint-free cloth and applying medium pressure. As the cloth becomes saturated with wax, you will need to replace or move to a clean area of your cloth so that it will continue to absorb wax. Continue on to your next unwaxed section and repeat steps three and four until you have waxed the entire surface.
FOR LARGE AREAS: After waxing and wiping individual sections, apply a very thin coat of Clear Finishing Wax from one side to the other and wipe the surface to even out the finish.
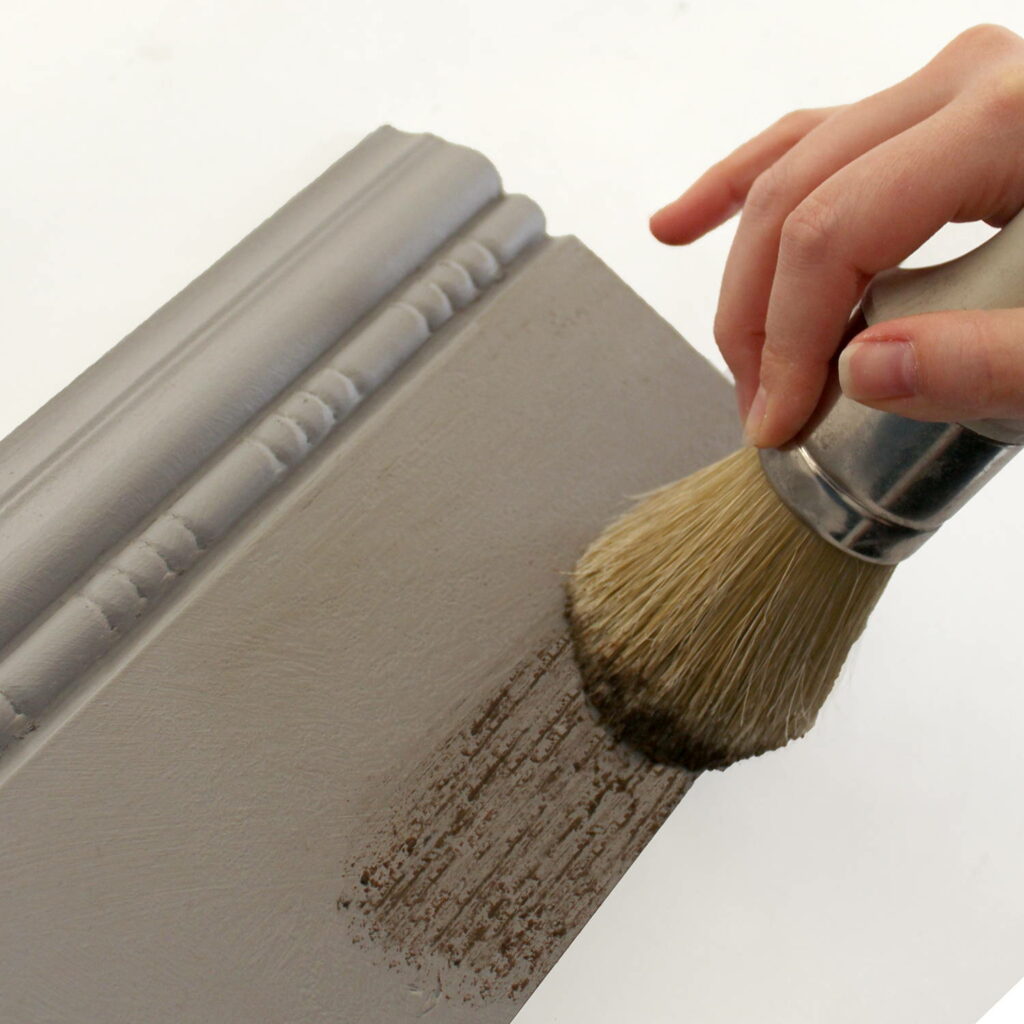
Step 5 (optional)
To age or alter the look of your finish, follow with a thin coat of one or more colored Jolie Finishing Waxes (pictured: Brown Finishing Wax). Make sure to push the wax into the underlying texture to emphasize brushwork and details.
PRO TIP: If you prefer to have less colored Finishing Wax on your surface, use Clear Finishing Wax to wipe back some of the excess.

Step 6
The wax is dry when it no longer feels cool to the touch, usually within 1-2 hours. Leave the finish as is for a natural matte sheen, or allow the wax to dry for 1-2 hours before buffing with a soft, lint-free cloth for a more polished look. For surfaces that require more durability, apply at least two coats of Clear Finishing Wax. Wait at least eight hours between coats. Jolie Finishing Wax will fully cure and harden in two weeks. During this time period, be gentle and take care when using your piece.
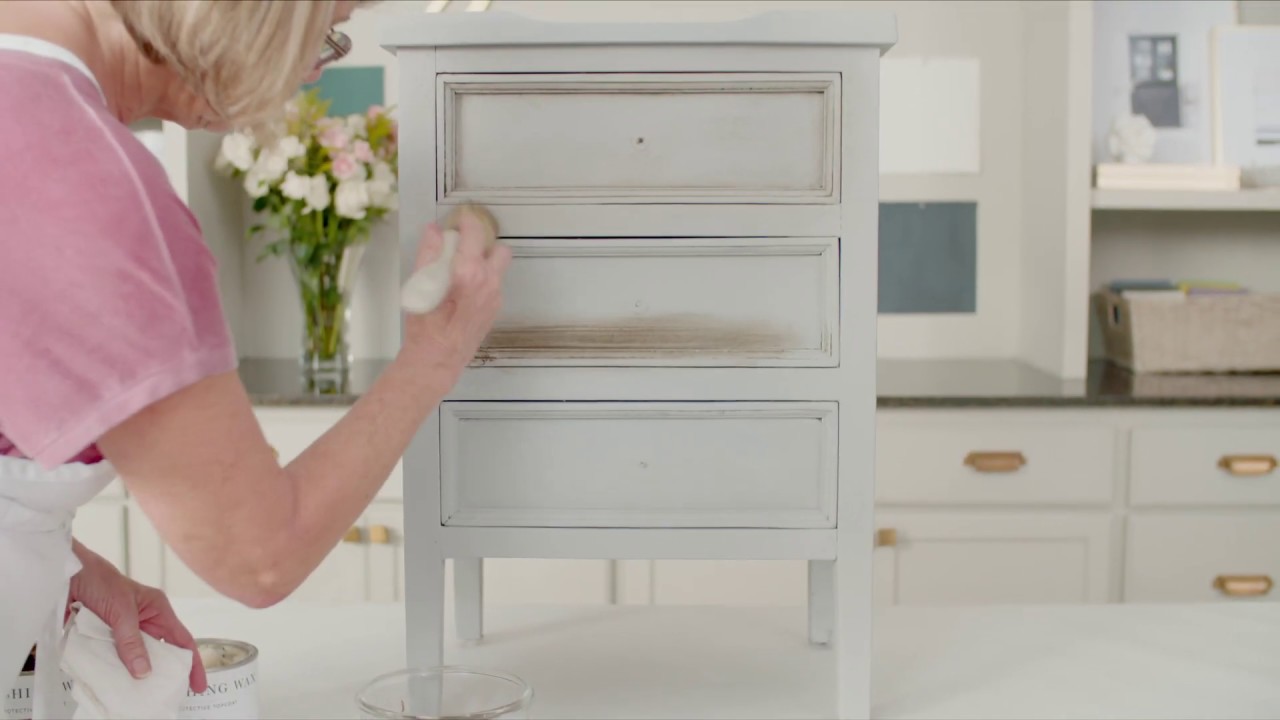
The Textured Finish with Jolie Paint
Get Your Materials
Recreate this look for your own space by using the Jolie products below. For our full collection, shop here.
 Naomi Findlay is an experienced interior designer, project manager and stylist who also loves sharing her passions and experience by teaching others.
Leave a Reply