• Skip to main content
  • Skip to primary sidebar
  • Skip to footer

Naomi Findlay

Creating Beautiful Spaces

MENUMENU
  • LEARN MORE
        • Learn With Us
          • Become a Property Stylist
          • Workshops
          • Professional Membership
          • Reno & Styling Courses
        • Work With Me
          • Interior Design
          • Virtual Interior Design
          • Mentoring with Me
          • Partner or Collaborate
          • Be a Guest on Our Show
          • Have Naomi Speak at Your Event
          • Interview Requests
          • Press Enquiry
        • Creative Workshops
          • Design Process Workshop
          • Kokedama Workshop
          • Clay Bead Workshop
          • Christmas Decorating Workshop
        • Resources (Free)
          • 5 Ways to Create a Beautiful & Relaxing Space at Home
          • Beautiful Renovation Masterclass
          • Space Medicine Guide
          • Floor Plan Transformation Guide
          • Renovate for ROI
          • Other Free Resources
        • Projects
          • Carrington House
          • Waukivory Estate
          • Lorn Rose Farm
          • Furniture Makeovers
          • Farm to Fortune Projects
        • Stay & Hire
          • Hire Waukivory Estate
          • Hire Carrington House
          • Carrington House Co-Working Packages
        • Read
          • Blog
          • Book: Weathered to Wonderful
          • Book: Start Up Guide To Renovating For Wealth
          • Book: Sell Your Property For More Money
          • Newsletter
        • Watch & Listen
          • The Reno Show
          • Reno Radio
          • Renovie
        • What People Say
          • Happy Students
          • Case Studies
          • Reviews
        • About
          • About Naomi
          • About Findlay & Co.
          • Contact
          • Help + Info
          • As Seen In
          • Build a School
          • Media Resources
          • Careers
  • SHOP
        • EVENTS
          • Design Process Workshop
          • Kokedama Workshop
          • Clay Bead Workshop
          • Christmas Decorating Workshop
          • Wreath Making Workshop
        • BOOKS
          • Weathered to Wonderful Book
          • Start Up Guide To Renovating For Wealth
          • Sell Your Property For More Money
        • STAGING & STYLING COURSES
          • Art of Property Styling
          • Professional Membership
        • Staging Business Swipe Files
          • Business SOP Templates
          • Business Email Templates
          • Business Call Scripts
        • RENOVATION COURSES
          • Renovate
          • Rapid Renovation Formula
          • Six Step Selling System

How To Paint Your Fence

April 19, 2018 by Naomi Findlay


Looking for an easier way to plan your renovation?  → Join Free Beautiful Renovations Masterclass


Don’t forget about your yard! The interior of your home shouldn’t be the only area getting a face-lift.

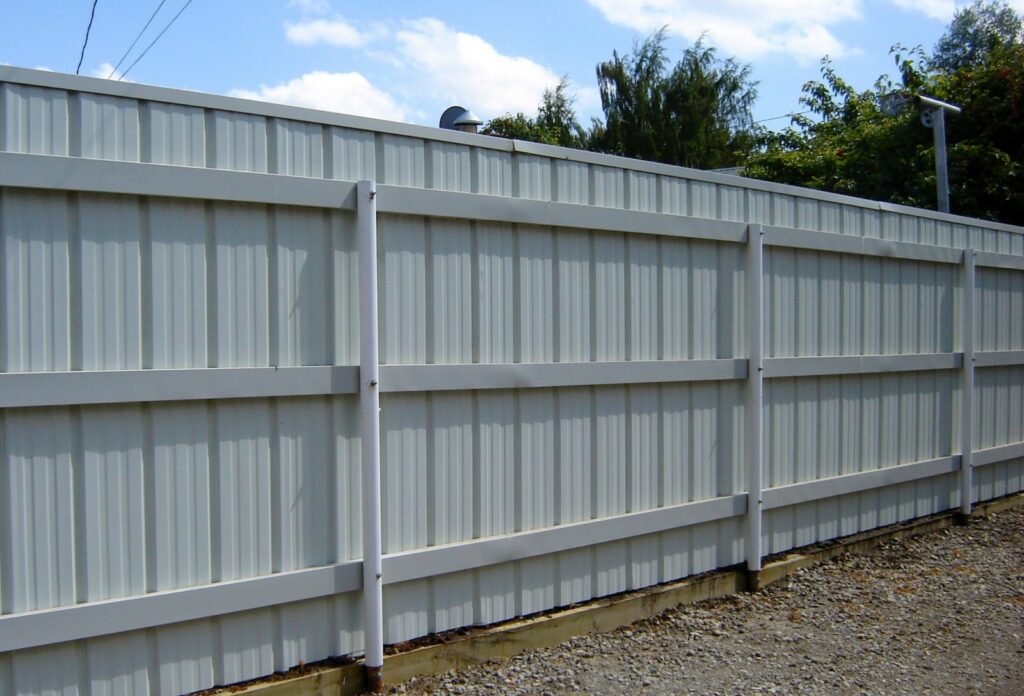
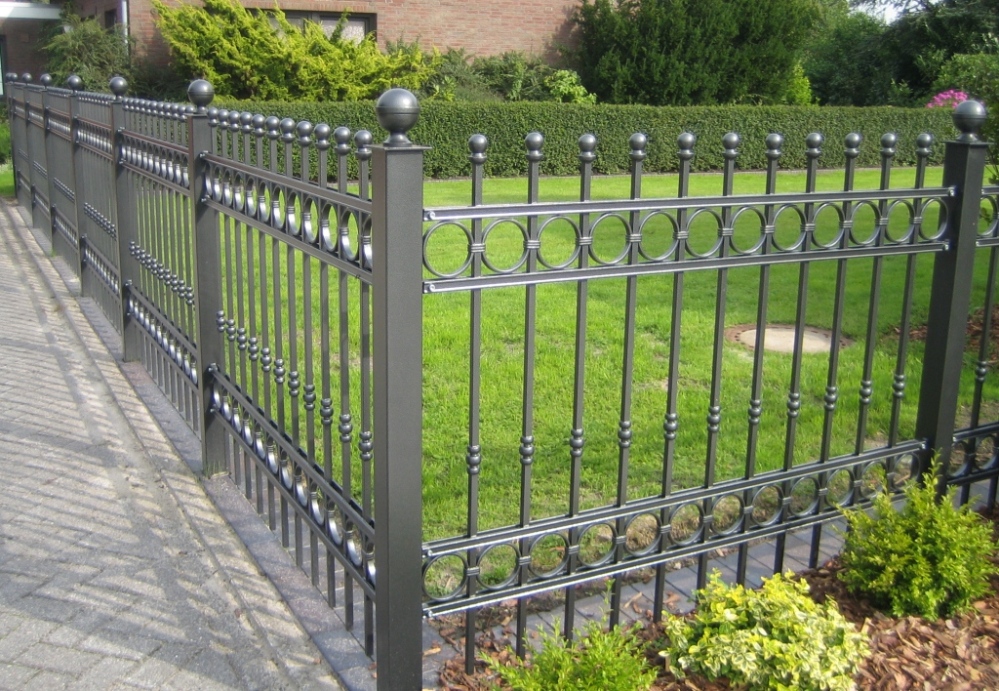
Your yard is the first impression of your home – rusty fences and gates don’t paint a pretty picture for the rest of the home. Your fence deserves some love – a revamp with a fresh coat of paint.

Image Credit: http://www.algarveconvention.com/design-and-remodel-for-corrugated-metal-fence/corrugated-metal-fencing/

Scrub and Sand

Always ensure your fence is clean before any paintings starts: hose down any cobwebs or leaves, and leave to drive thoroughly. For a really deep clean consider a pressure cleaner.

The next step is to remove any old paint and rust to ensure the fresh paint sticks and looks great. The harsh elements that your fence is exposed to, such as wind, rain, and the scorching sun, cause metal fences to break down and ultimately rust.

To do this, use a wire brush to scrape off dust and old paint from the fence. Never forget to wear a mask to protect yourself from all the loose particles! Medium sandpaper or a sand blaster will remove any residual paint or rust you didn’t manage to scrape off. Don’t worry you don’t need to remove all the existing paint on the fence – just any loose particles – so finish off your sanding with a dusting brush.

Pull Out Your Calculator

This simple formula will save you from spending too much on paint you don’t need, or leaving you with a half-finished fence.

To work out how much paint you need for your fence:

  1. Multiply the total length and height of your fence
  2. Double this number (because you have two sides to paint, rather than one flat surface)
  3. Divide this number by fourteen to work out how many paint tins you need

Prevent a Mess

Use drop sheets, tarps, or newspaper to cover anything you don’t want to end up painted – like your pavers or grass. For fiddly edges and corners, masking tape or painters tape is great!

Treat the Rust

All the scraping and sanding will not completely remove the rust on your metal fence. To ensure your fence is rust-free utiliser a rust converter, such as White Knight, to help ensure your fence will not continue to degrade after it has been painted.

Simply pour your rust converter into a container, and brush it into your fence (wiping away drips and spills as quickly as you can). Then leave it for two hours.

Tip: Rust convertors also work well as a bases for your primer and final coat of paint.

Get Priming

This step can be optional; it all depends on the state of your fence. If your fence is new or has little signs of rust you can skip, however if your fence is older than you or is covered in rust, then this step is a must.

A metal primer, such as White Knight’s Rust Guard, will add both extra rust protection and help your final coat to stick to your fence. Stir the primer, then apply it with a roller and roller tray, finishing off the fiddly bits with a brush. Avoid painting straight from the tin, or you will ruin the primer for future use.

Tip: If you’re using a dark top coat, be sure to pick up a dark primer – otherwise, white primer is fine.

Image Credit: http://www.fixsproject.com/metal-fence-rails/beautiful-metal-fence-panels-peiranos-fences-good-metal-fence-metal-fence-rails/

And Finally… Paint!

Your fence is ready for its top coat! Apply an epoxy enamel, such as White Knight’s Rust Guard, in the same way as the primer. Be sure to sand down any rough bits between coats. Leave the first coat on for at least sixteen hours before applying the second coat.

Tip: Wash down your brushes and rollers with a rust guard solvent so you can use them on your next DIY.


About Naomi Findlay

Naomi Findlay is Australia's renovation royalty and works with people around the country helping them create beautiful spaces one on one and with her online courses.

Reader Interactions

Leave a Reply Cancel reply

Your email address will not be published. Required fields are marked *

Primary Sidebar

Primary Sidebar

Categories

Free Renovation ResourcesRenovating For Wealth BookFree Renovation Resources

Footer

About Naomi Findlay

Naomi Findlay is an experienced interior designer, project manager and stylist who also loves sharing her passions and experience by teaching others.

You can work with Naomi in person by engaging her as your renovation project manager or interior designer, as well as remotely.
Read more

  • Facebook
  • Instagram
  • LinkedIn
  • Pinterest
  • Twitter
  • YouTube

Quick Links

  • Interior Design Services
  • Interior Styling Services
  • Virtual Interior Design Services
  • Creative workshops
  • Books
  • Free Resources
  • DIY Products
  • Privacy Policy
  • Terms for Courses
  • Terms for Products & Events

Copyright © 2015–2025 Naomi Findlay · Website care by ClickWP · My Account · Contact · Log in