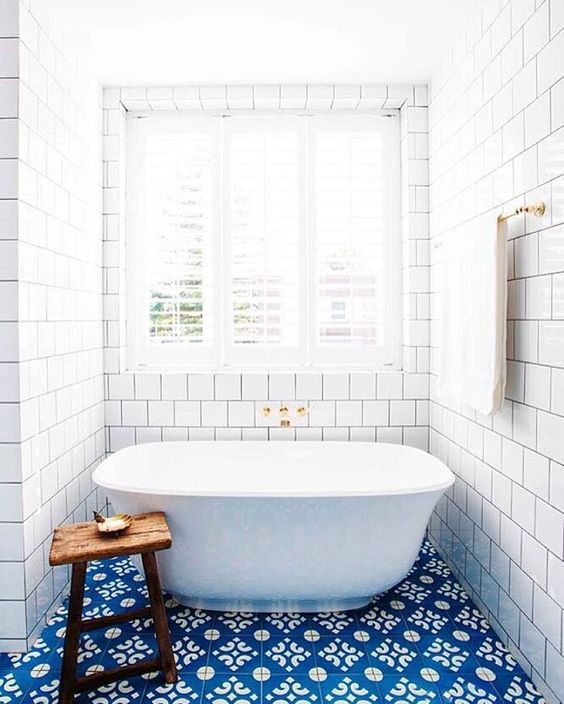
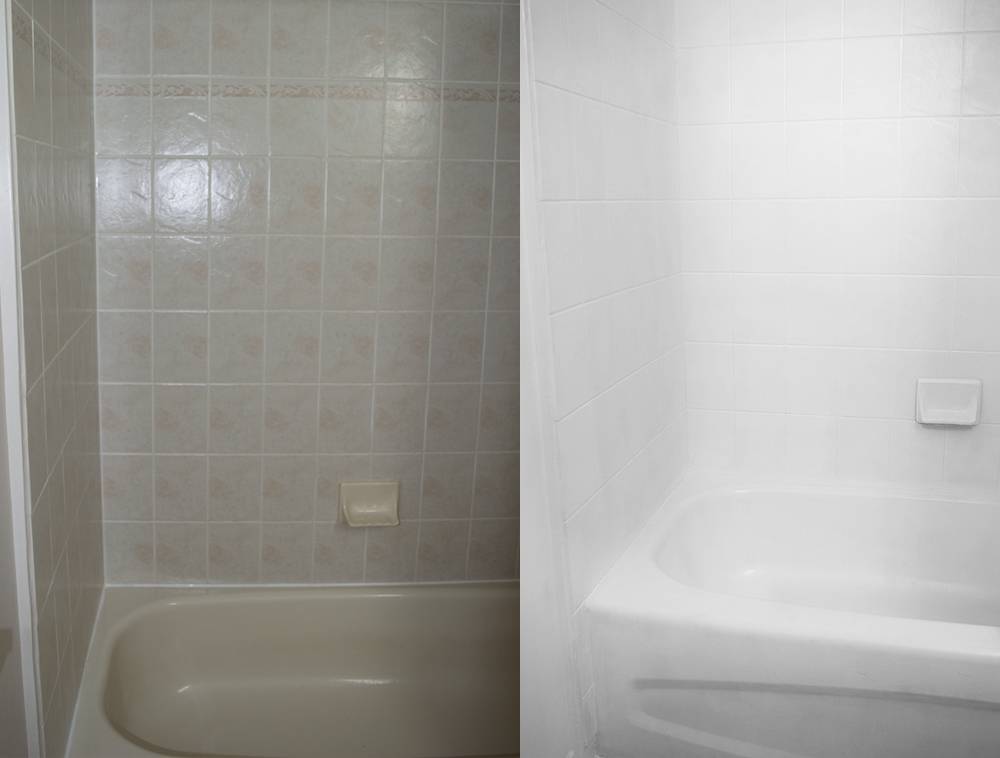
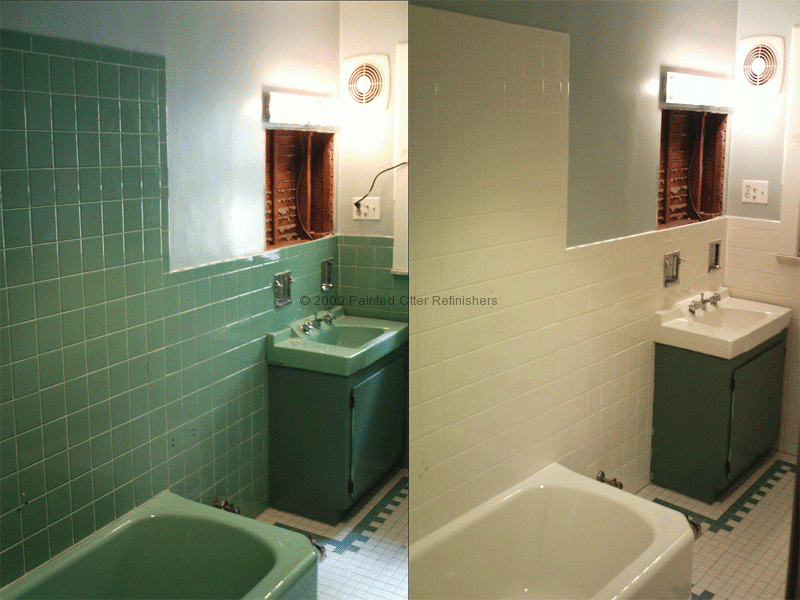
Here is a quick and easy way to freshen up your bathroom without leaving you shower-less for a month or hurting the wallet. If your bathroom tiles are free from chips, cracks and other major damage, simply update them with White Knight tile paint to completely transform your bathroom!

Cleaning, Repairing, and Preparing
As clean as your tiles may look, a thorough spray and scrub, using White Knight’s tile and laminate cleaner, will ensure your tiles are clean of all residual soap and bath oils. Be sure to kill any mould with some bleach, and fill in any grout or tile cracks with grout or poly filler. If a tile is badly damaged, just replace it with a tile of the same size – it will be painted over anyway!
To protect the areas of your bathroom that aren’t getting a paint make-over, use tape around non-tiled walls and taps, and lay down drop sheets in the bath tub and floor.

Measure Up!
There is an easy way to determine how much paint you will actually need to use:
- Just multiply the length and height of the tiled walls
- Divide everything by twelve
- The final number is the amount (in litres) of paint that you will need!
Time To Prime
Paint primers, such as White Knight’s tile and laminate primer, provide a base coat that helps your final coat of paint stick to the tiles. It also prevents peeling and scratching, and contains an anti-mould ingredient to further protect your refreshed tiles.
Use a roller to zig-zag the primer across your tiles, finishing off corners and edges with a paint brush. Use a rolling try to avoid painting straight from the tin, which can ruin the primer for future use. Continue with another coat of primer four hours later; lighting sanding after each coat.
Painting Time!
It’s time to pick your paint. White Knight offers tile paint for a gloss finish, and a satin finish with their laminate paint, and both can be tinted to any colour you want!
Using the same technique as the primer, apply your paint using a roller and tray, and paint brush for corners and edges. Zig zag your first coat, leave to dry for six hours, then finish off with a light sand before applying the second coat using long strokes. To achieve a smooth finish without streaks, stir your paint every now and then. Remember two thin coats are better than one thick one!
Paint brushes, rollers, sponges and trays should be washed as soon as you are finished with them so that you can use them in your next DIY project. It will take a week for your beautiful new tiles to be fully cured, so take extra care to avoid bumps or harsh cleaners. To create a contrast between your tiles and grout, apply White Knight’s grout pen.


 Naomi Findlay is an experienced interior designer, project manager and stylist who also loves sharing her passions and experience by teaching others.
Leave a Reply