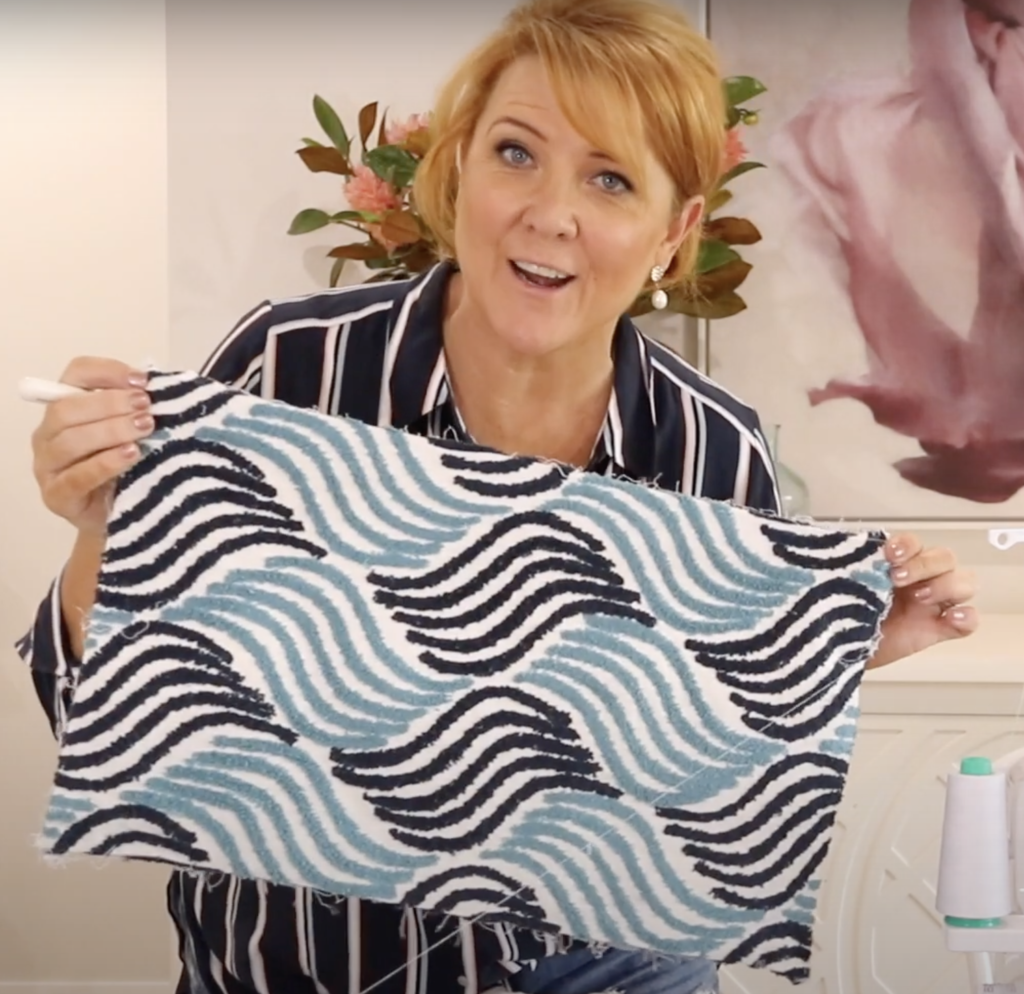
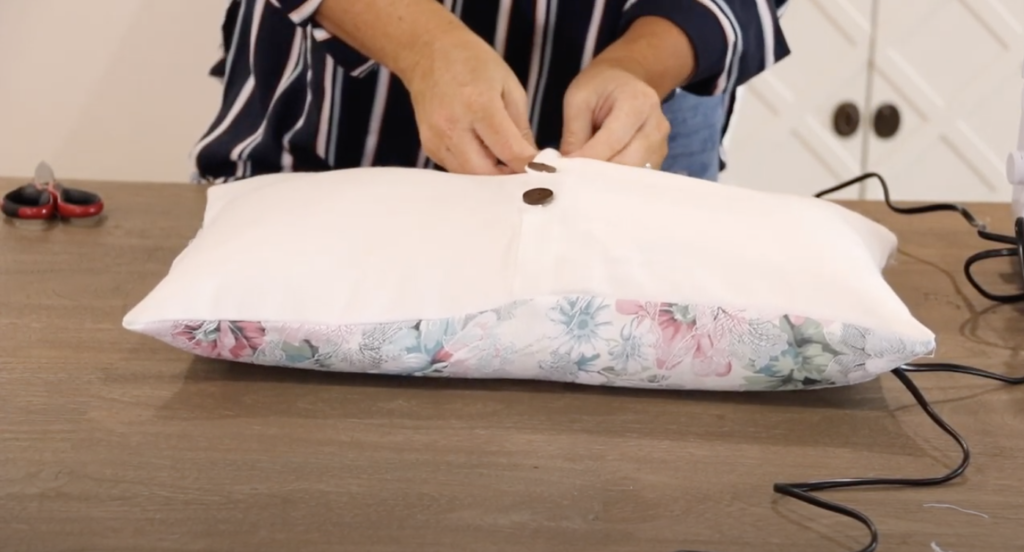
Do you have an old cushion that needs a makeover?
Not a fan of its front cover?
Well this cushion transformation is just for you!
We gave two old cushions a new life by simply unpicking, cutting, pinning and sewing. With that in mind, we’ll show you how you can update all the old cushions in your living space!
Continue reading below as we share some tips and tricks for giving your old cushion a makeover. Or if you prefer to watch the full video instead, watch below!
To give your old cushion a makeover, you will need…
- An old cushion (and its insert)
- An unpicker
- A pair of scissors
- Pins
- Overlocker

STEP 1
Using a simple stitch unpicker, remove the old front cover of your cushion. Slip the unpicker through the cushion seam and start to remove the two sides of the cushion along the seam
To avoid accidentally cutting the fabric, expose the seam and then slip the unpicker in. As soon as the unpicker touches the cotton, the fronts and the backs will come away.
Now the old front cover is gone and we only have the back cover that we are keeping.
STEP 2
Next, we’ll use the old front cover fabric to cut a template for the new fabric. Lay the old fabric over the new front fabric and pin it down so it doesn’t move. Using a pair of scissors, cut exactly along the edge of your template. This way you will have the perfect size first time.
STEP 3
To get the front and the back covers ready for sewing, place the new front panel and old back panel together.
It is important to place then “right side” of the fabric together.
You need both of the good or finished sides facing each other. And both of the insides or bad sides of the fabric should be facing out.
Once you have the edges lined up, place pins all the way around the edge.
Ensure that the pins are in the right spot. Simply follow the line where where the old stitching was.
STEP 4

Ideally, use an overlocker to sew the front and back covers together. This way, the edges won’t fray and the seam will be nice and secure. Follow the pin and take them out before running over them.
And there you have it, your cushion cover is done!
Turn it in the right way and push those corners all the way out. You can even use the old cushion insert, saving you money!
Looking for an easier way to plan your renovation from start to finish?
Make your dream home a reality, no stress, no guesswork with our FREE Beautiful Renovations masterclass CLICK HERE TO JOIN

 Naomi Findlay is an experienced interior designer, project manager and stylist who also loves sharing her passions and experience by teaching others.
Leave a Reply