Interested in starting a career as a Property Stylist?
Not sure how to turn this passion into a six figure career?
Start Here: Free Video Training Series
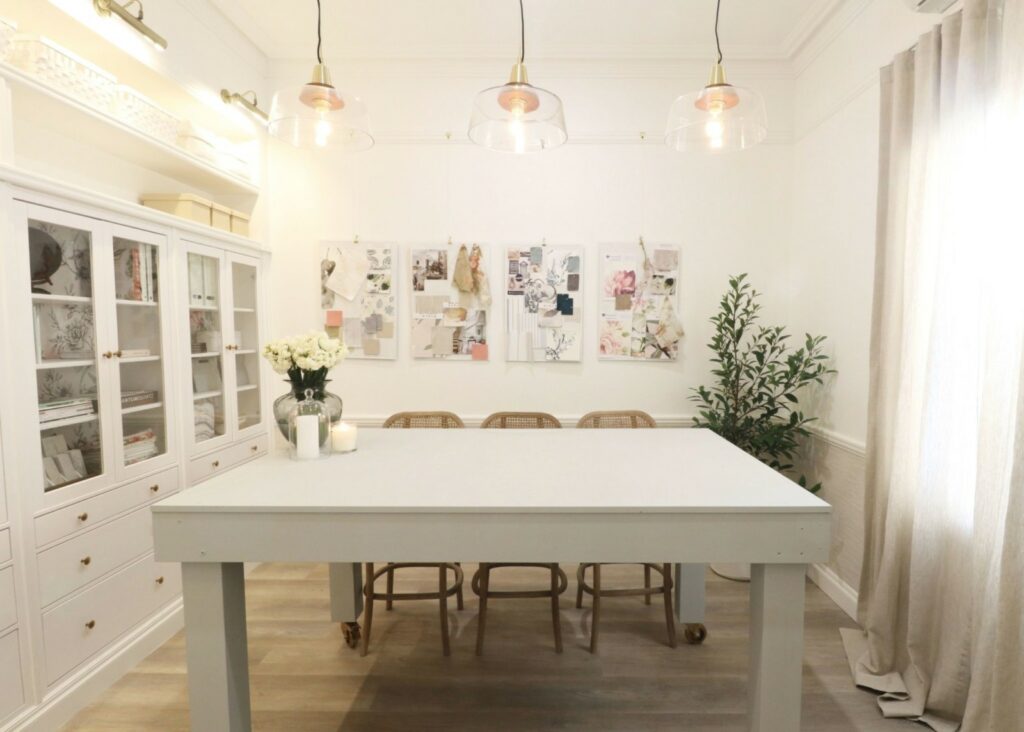
Hey there, you and welcome back to yet another Carrington House Renovation.
We are now up to the fourth renovation, and today we be renovating our third room.
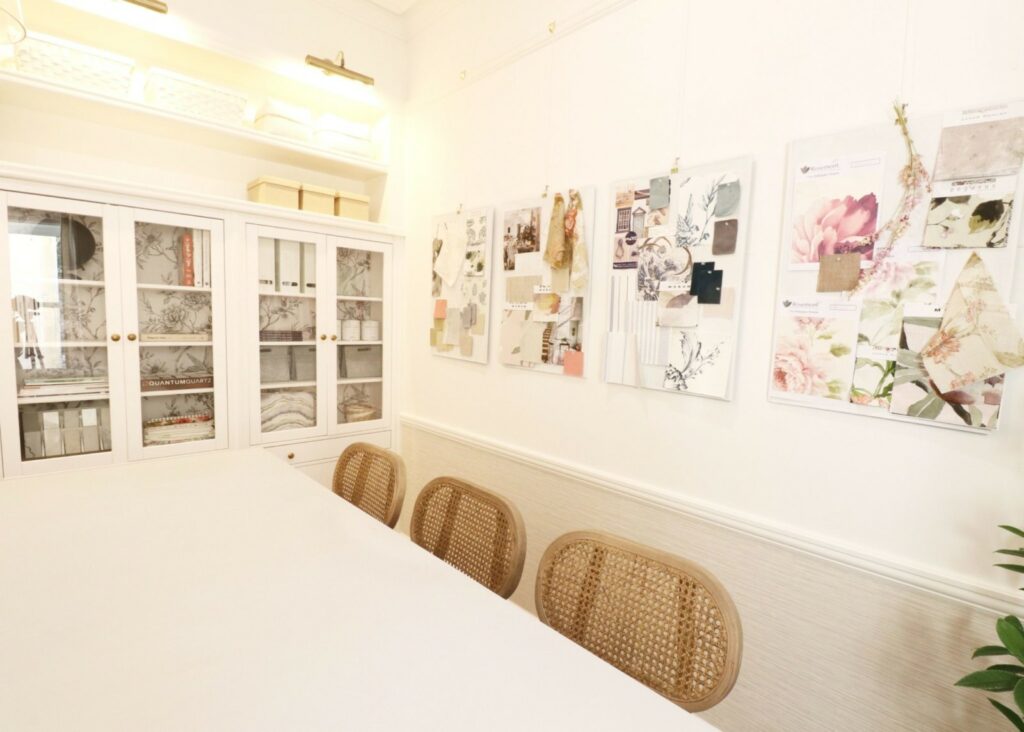
Unlike the other renovation this won’t be another bedroom – but in fact, will be transforming this space into a studio. With a few simple IKEA hacks, will be converting this once old bedroom space into an amazing design studio to die for!
With the goals to add a new window, continue the flooring from the other spaces and creating a whole back wall to be amazing and outrageously affordable built in cabinetry – this is a renovation you don’t want to miss!
Follow along and read below on all about this studio transformation and how we pulled it off! If you missed out on our other room renovations quickly jump on to our blog at NaomiFindlay.com, or simply click the links below…
Wanting to know how did we pull off this studio renovation?
DEMO
We must always begin with a quick site clean-up to ensure that we are Woking in a safe environment.
So, in saying that it was time for the Team Ferris to start to come in and tear up this floor. Unfortunately, the floor here is not any different from the last two-room.
However, I guess with some bad news there will always be some good news right? So with that said, at least the walls didn’t fall down this time!
The guys from Hunter Lining Projects came in and bought the Super Check to then go up onto our walls!
INBUILT CABINETRY
Now it’s time to install our inbuilt cabinetry!
We choose to use an affordable yet stylish in-built cabinetry from a budget furniture store- the IKEA HEMNES inbuilt cabinetry. With the help of our tradies, the installations of these stunning cabinets were placed along with the wall ready to be styled!
We actually have a blog all about how we installed this beautiful inbuilt cabinetry. So, if you wanted to read all about it click here, or if you prefer to watch simply click the video below …
DESIGN DESK:
Now it’s time for the much-talked design desk that will be installed in the studio. If you want to see exactly how Josh and I built that you can click the link here to read all about it!
MAIN CONSTRUCTION
CELINGS AND WALLS
It’s back over to Hunter Lining Projects to install this stunning real plaster cornice which we have followed through all the rooms so far. These beautiful cornices helped create a seamless and elegant continuity that we hope to continue throughout the renovations
Then continuing on from the other rooms yet again, we will be installing the skirting, chair rails and picture rails along walls in the space.
PAINT
As always, it was time for the room to have a fresh coat of paint. In comes, Dan from Newy Paint Crew to come back in and get this room painted
FLOORS
To continue the consistent flow of the house, we choose to continue on with the same flooring in the other three spaces. It was time to install the durable Vinyl flooring continuing into space yet again!
WALLPAPER
If you haven’t caught up on our previous Carrington House, we actually have installed these beautiful textured Grass Cloth Wallpaper in the Living Room Renovation.
Again, to create continuing from the rest of the house, we decided to add the same gorgeous wallpaper in our studio. Then it was time for the wallpaper to go up, installing it between yet the skirting board and chair rails again.
We decided to bring in another wallpaper to space.
Using a beautiful monochrome botanical wallpaper in contrast to the grasscloth wallpaper, was the perfect solution to help dress up the cabinetry. Installing it to back of the cabinetry walls, added a gentle charcoal and another affordable design hack
If you want to learn some tips and trick on wallpapering, click here!
LIGHTING
In terms of lighting, we had our electricians came in and install GPOs lights and switches to brighten this room up.
Being a design studio, we went for a mix of modern and classic lighting. With downlights, three low hanging feature lights as well as gallery lighting above the cabinetry – we have a perfectly lit space for you!
CURTAINS
To really dress up a space the first thing that comes to our mind is LAYERS!
So with that said this space really deserves some amazing curtains. Teaming up with Drapery, we installed some beautiful beige flax linen curtains
DOOR
Last but not least it was time to install the doors of the room and then a beautiful fresh layer of paint and were ready to go!
STYLING AND FINISHING TOUCHES
And here for the fun part and what we think the most important!
It’s time to style and dress up our studio
If you want to watch the full video of how we transformed this stunning design studio of your dreams, simply watch below…
Continue reading, as we share some before and after pictures and the biggest challenges and regret of the renovation
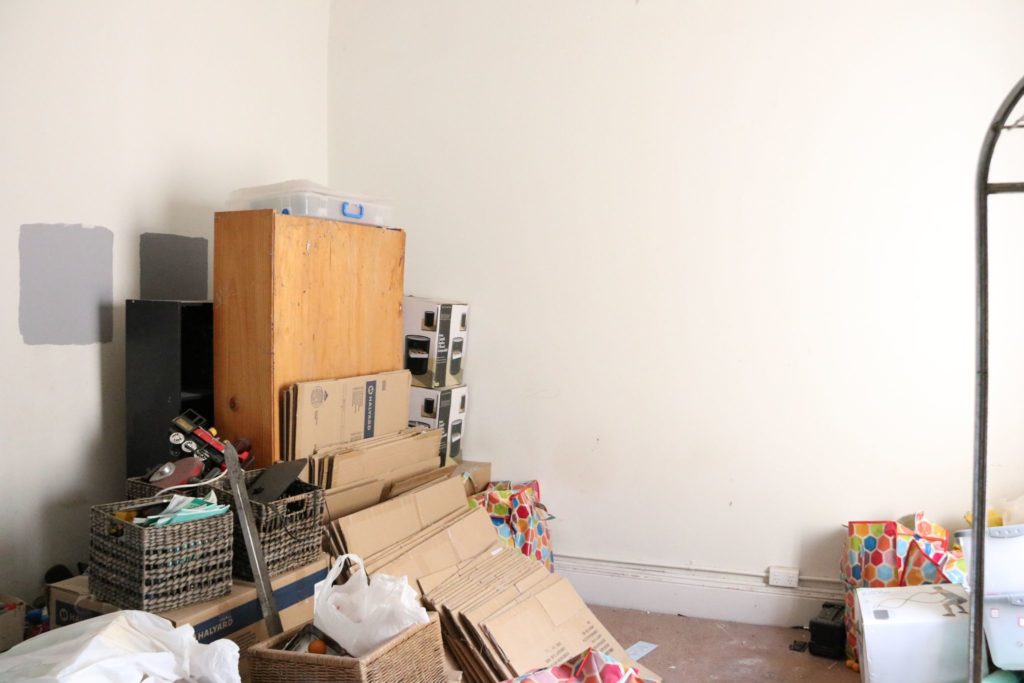
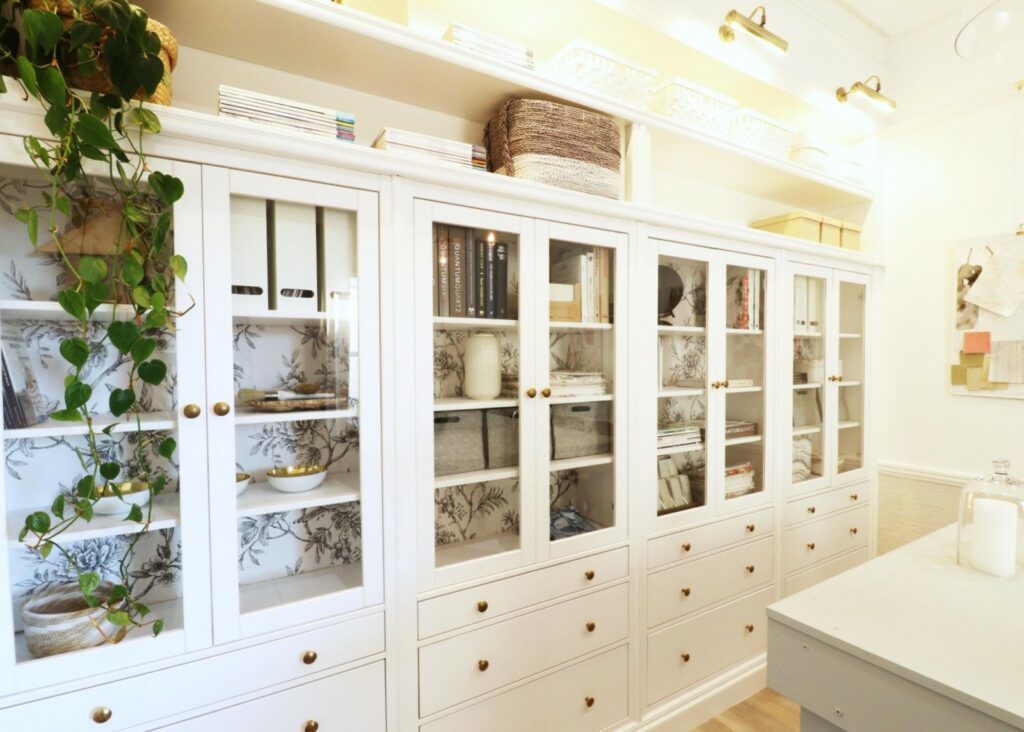
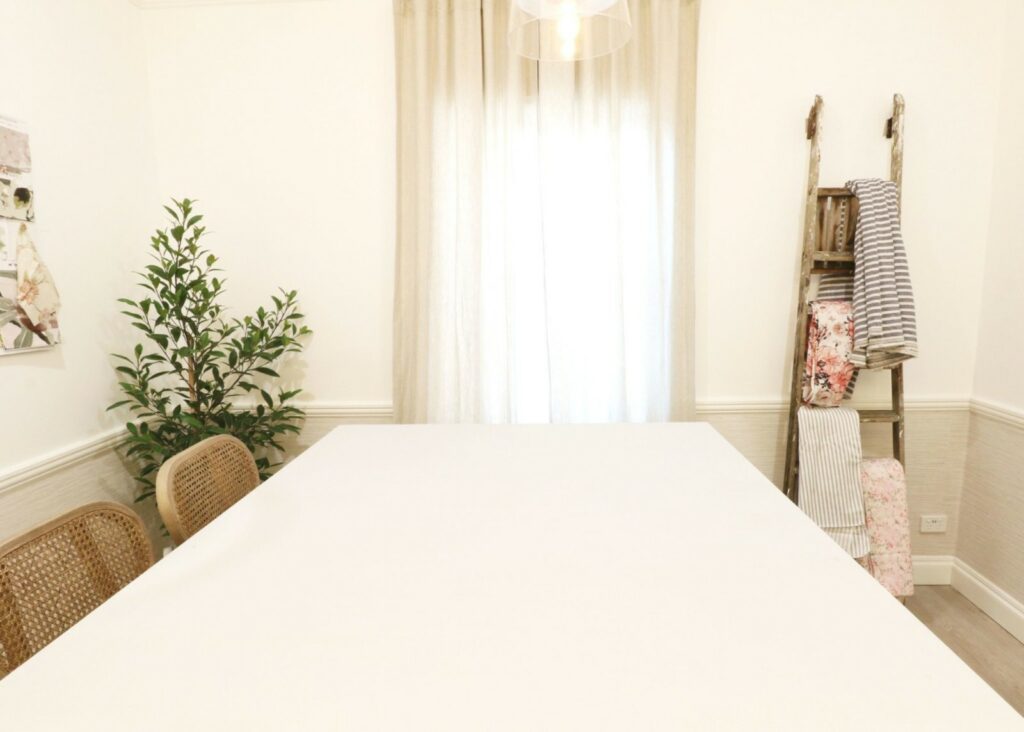
CHALLENGES AND REGRETS
The most challenging part without a doubt was the fact that we didn’t have enough space to fit in four cabinets. Definitely taught us a lesson to always measure not once but three times to be safe. A little tip is always to remember to check with your building team prior to ordering as well.
Something that we wished that could have changed would have been the size of the window. The window we have now installed gives such a beautiful node to the heritage of this house.
However, with that note that wraps up on our forth Carrington House Renovation – The Studio Transformation
We like to say a big thank you to our supplier and tradie team!
Find out who helped us made our renovations dream come true…
Supplier Team:
- Beaumont Tiles
- Bristol
- Aslpec
- Gerflor
- Gyprock
- Intrim
- Hume Doors
- Cemintel
- Draperly
- Brosa
- Kalora
- Saddingtons
Tradie Team:
Looking for an easier way to plan your renovation from start to finish?
Make your dream home a reality, no stress, no guesswork with our FREE Beautiful Renovations masterclass CLICK HERE TO JOIN

 Naomi Findlay is an experienced interior designer, project manager and stylist who also loves sharing her passions and experience by teaching others.
Leave a Reply