Interested in starting a career as a Property Stylist?
Not sure how to turn this passion into a six figure career?
Start Here: Free Video Training Series
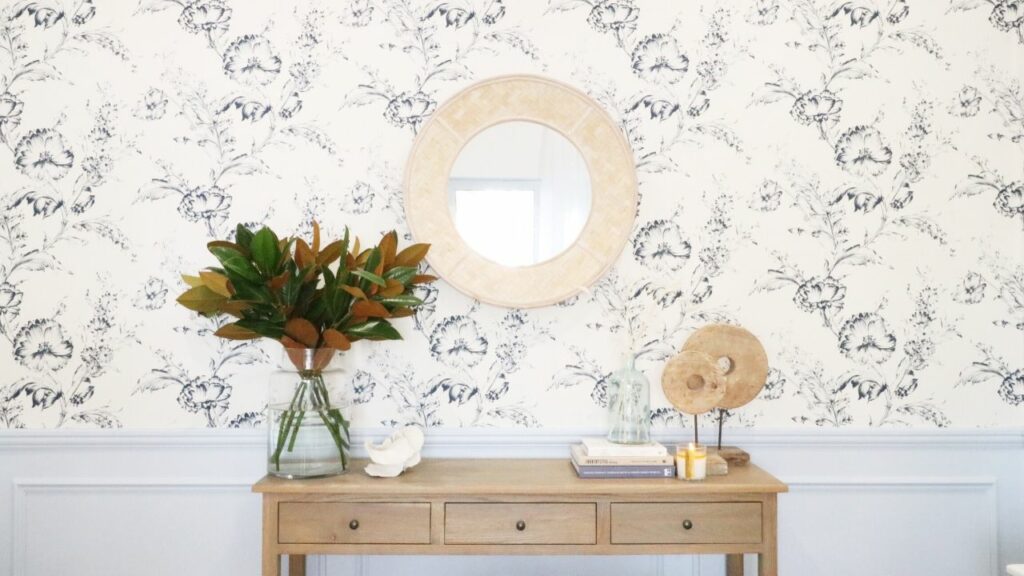
Want to learn how to DIY wallpaper? There are so many different wallpapers on the market, with endless choices and possibilities, transforming any space simply with different patterns and textures.
Just like the variety of prints available, there are different types of wallpapers in the way they come to you and how they are being applied.
Whether you are here to learn new tips and tricks on your latest wallpaper adventure or simply just curious, you can read below as we reveal the different types of wallpapers available and share our top tips on how to hang wallpaper.
If you prefer to watch, you can do so here! Simply click below and you can watch are top tips on how to wallpaper.

Or read below …
Firstly, choosing the right wallpaper for you and the space that you’re working with, can be quite difficult.
Three different main types of wallpaper that we have come across are:
- The self-adhesive: Where just like contacting schoolbooks, the self-adhesive has a peal of glue adhesive to the back before it goes on to the wall.
- Glue to paper: where either needs glue to adhere to the back before it goes on the wall or directly to the wall and then the wallpaper being pasted up.
- Prepasted Wallpaper: This is where the glue is actually impregnated into the back of the paper and you simply activate it with water.
However, no matter which wallpaper you choose to use the importance of measuring not once but two to three times and cutting once is the biggest tip we can recommend.
Measuring Around Obstacles
- You can actually cut your wallpaper, once it been glued onto the wall, however, it is much easier to cut when it doesn’t have the glue on it or is wet.
- Mark it out and make few incisions.

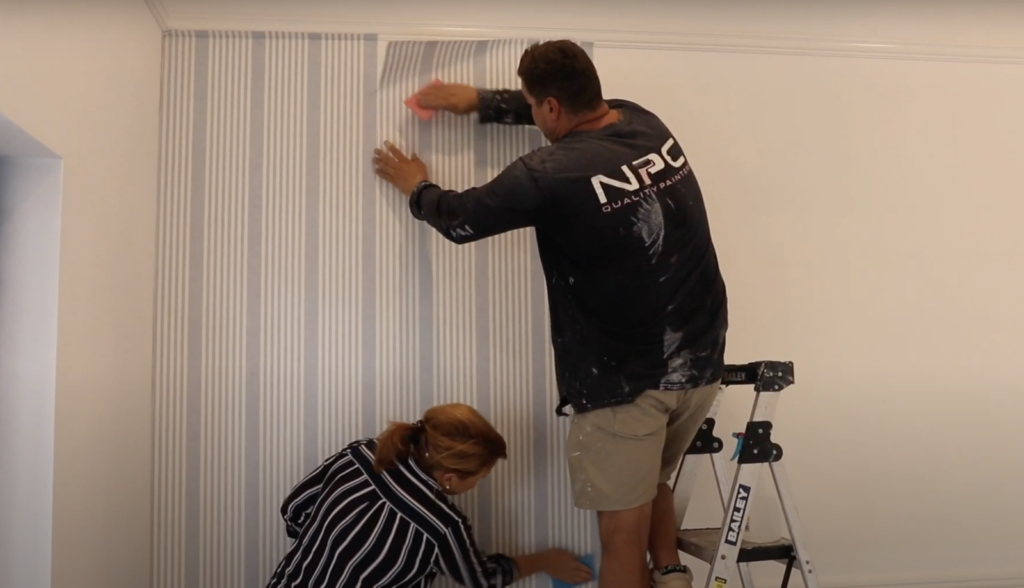
Working Out Your Pattern Repeat
- If you have a small repeat in your patter, then you have a smaller pattern repeat distance.
- You need to allow at least the pattern repeat plus the length you need on your subsequent rolls.
- Match up pieces of patterns together.
Self Adhesive Wallpaper
- Often comes with a squeegee, however, you can simply just use your credit card or driver’s license.
- Do not pull the entire backing off when attaching to the wall.
- Start off by attaching the top edge and with your hand slowly guiding the paper down whilst pressing down with your card.
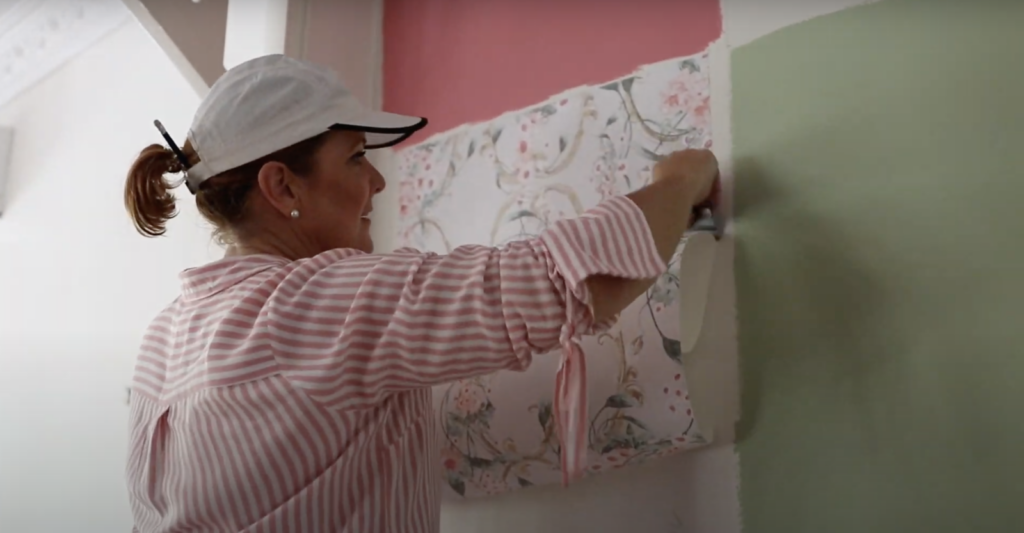
Glue to Paper
- Often you will find that this technique will often need the wallpaper to “book” for a period of time.
- Generally for 3 to 10 minutes that you leave the paste for the wallpaper folded upon itself to allow the paper to penetrate to avoid shrinkage or expanding problems.
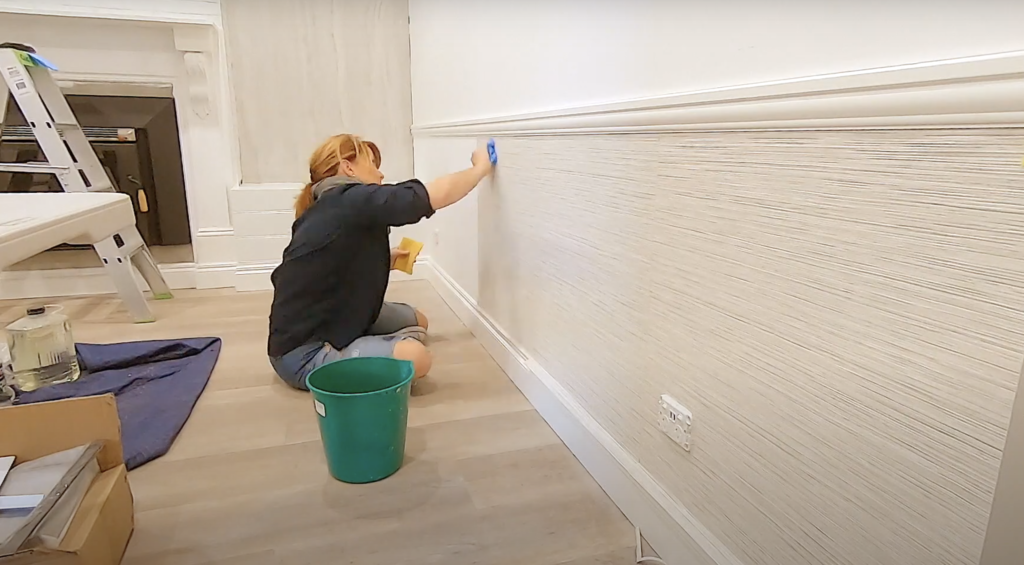
- Always have clean hands and a clean bucket of water and sponges with you all the time.
- Clean your bench in-between piece to avoid glue getting on the front of the paper.
- Make sure you have little glue as possible, and you never want your glue to dry on the front of your paper.
- Use a damp sponge to clean glue and get rid of bubbles, and simply just press and repeat.
Glue to Wall
- You can purchase premix glue which allows perfect consistency and saves time mixing your own glue.
- The glue can be quite thick, so make sure that you’re not pasting more than a centimeter thick.
- Using the cross-hatching technique can prevent missed space on the wall
Prepasted Wallpaper
- Spray an even coat of water onto the back of the paper, and fold the paper onto itself, allowing the moisten the glue and expand and relax the paper.
- Make sure that you aren’t spraying too much water to reduce the risk of glue becoming mushy.
- Match wallpaper up onto the line and press down.
Looking for an easier way to plan your renovation from start to finish?
Make your dream home a reality, no stress, no guesswork with our FREE Beautiful Renovations masterclass CLICK HERE TO JOIN
 Naomi Findlay is an experienced interior designer, project manager and stylist who also loves sharing her passions and experience by teaching others.
Leave a Reply