• Skip to main content
  • Skip to primary sidebar
  • Skip to footer

Naomi Findlay

Creating Beautiful Spaces

MENUMENU
  • LEARN MORE
        • Learn With Us
          • Become a Property Stylist
          • Workshops
          • Professional Membership
          • Reno & Styling Courses
        • Work With Me
          • Interior Design
          • Virtual Interior Design
          • Mentoring with Me
          • Partner or Collaborate
          • Be a Guest on Our Show
          • Have Naomi Speak at Your Event
          • Interview Requests
          • Press Enquiry
        • Creative Workshops
          • Design Process Workshop
          • Kokedama Workshop
          • Clay Bead Workshop
          • Christmas Decorating Workshop
        • Resources (Free)
          • 5 Ways to Create a Beautiful & Relaxing Space at Home
          • Beautiful Renovation Masterclass
          • Space Medicine Guide
          • Floor Plan Transformation Guide
          • Renovate for ROI
          • Other Free Resources
        • Projects
          • Carrington House
          • Waukivory Estate
          • Lorn Rose Farm
          • Furniture Makeovers
          • Farm to Fortune Projects
        • Stay & Hire
          • Hire Waukivory Estate
          • Hire Carrington House
          • Carrington House Co-Working Packages
        • Read
          • Blog
          • Book: Weathered to Wonderful
          • Book: Start Up Guide To Renovating For Wealth
          • Book: Sell Your Property For More Money
          • Newsletter
        • Watch & Listen
          • The Reno Show
          • Reno Radio
          • Renovie
        • What People Say
          • Happy Students
          • Case Studies
          • Reviews
        • About
          • About Naomi
          • About Findlay & Co.
          • Contact
          • Help + Info
          • As Seen In
          • Build a School
          • Media Resources
          • Careers
  • SHOP
        • EVENTS
          • Design Process Workshop
          • Kokedama Workshop
          • Clay Bead Workshop
          • Christmas Decorating Workshop
          • Wreath Making Workshop
        • BOOKS
          • Weathered to Wonderful Book
          • Start Up Guide To Renovating For Wealth
          • Sell Your Property For More Money
        • STAGING & STYLING COURSES
          • Art of Property Styling
          • Professional Membership
        • Staging Business Swipe Files
          • Business SOP Templates
          • Business Email Templates
          • Business Call Scripts
        • RENOVATION COURSES
          • Renovate
          • Rapid Renovation Formula
          • Six Step Selling System

How to Create Your Own Custom Feature Wall

March 1, 2021 by Naomi


Looking for an easier way to plan your renovation?  → Join Free Beautiful Renovations Masterclass


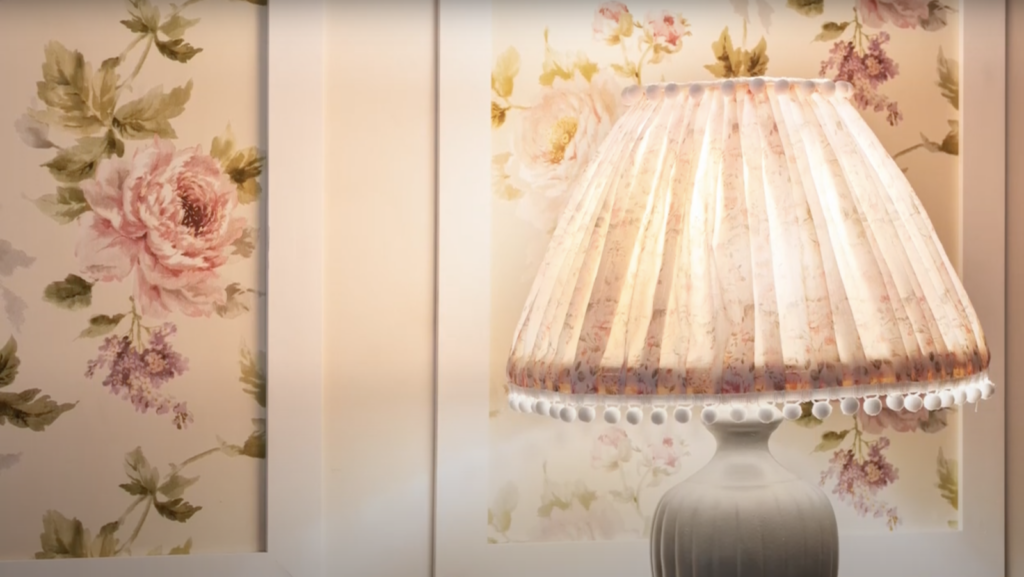
Do you have that plain wall at home that you’re on the hunt to find the perfect artwork or custom piece to hang? Well, we have a solution for you! Instead, why not create something completely different?

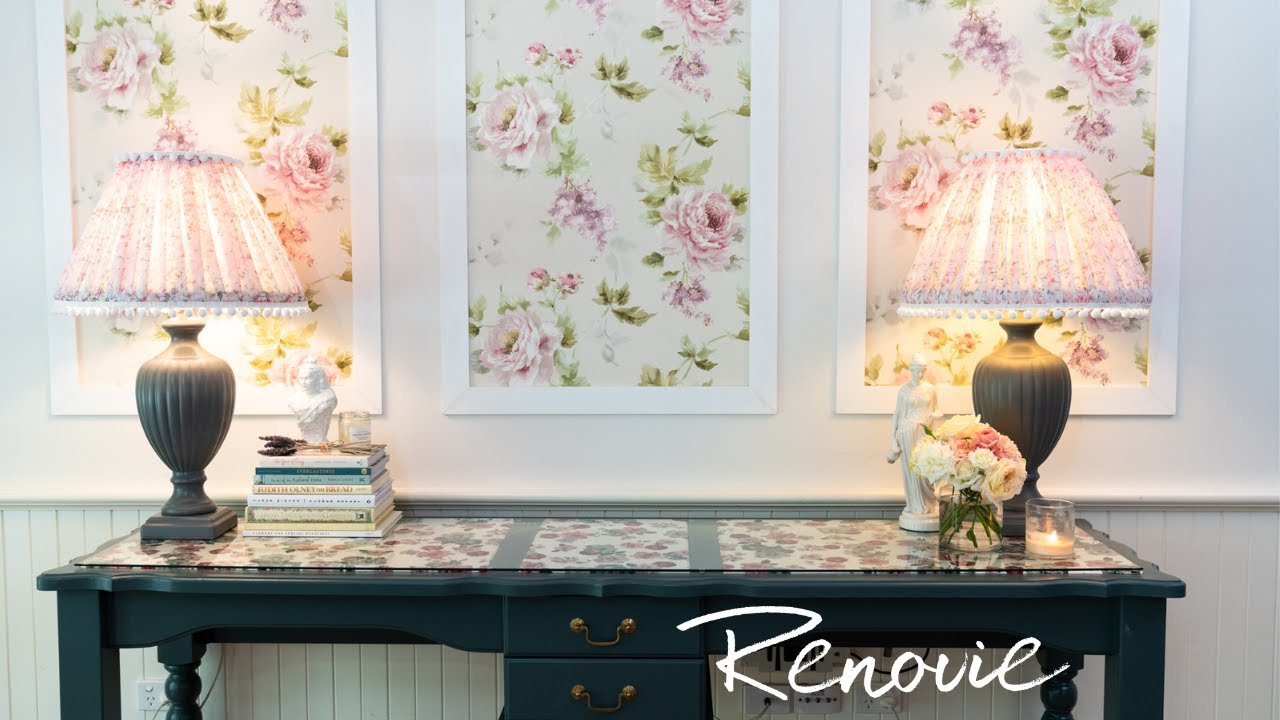
We show you how to quickly turn a bland white wall into a custom feature wall using some wallpaper art to create a bespoke but affordable feature.

Beautiful Wallpaper Feature

Keep reading and we share step by step on how you can create your very own custom feature wall. If you prefer to watch instead simply click here or below to watch the full video.


What you need

  • Wallpaper of your choice
  • Premixed Wallpaper Glue
  • Large Dense Brush
  • Sponge
  • Simple Square Cut Pre-primed Battens

How to create your own custom feature wall?
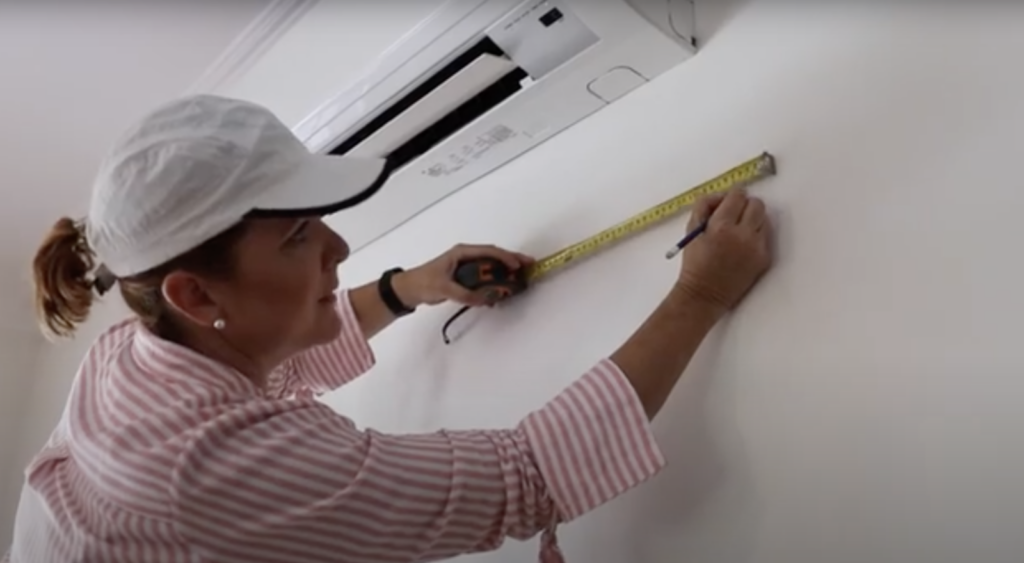
Step one

Mark out each panel with the width of the wallpaper and the spaces between each panel. We decided to have three panels at 12000 millimeters long and 120 centimeters wide, with a 200 mill gap between each frame.

Measuring out the wall

Step two

Measure and cut your wallpaper. It’s okay if the lines are not as straight as you’ll be later covering it up with battens.
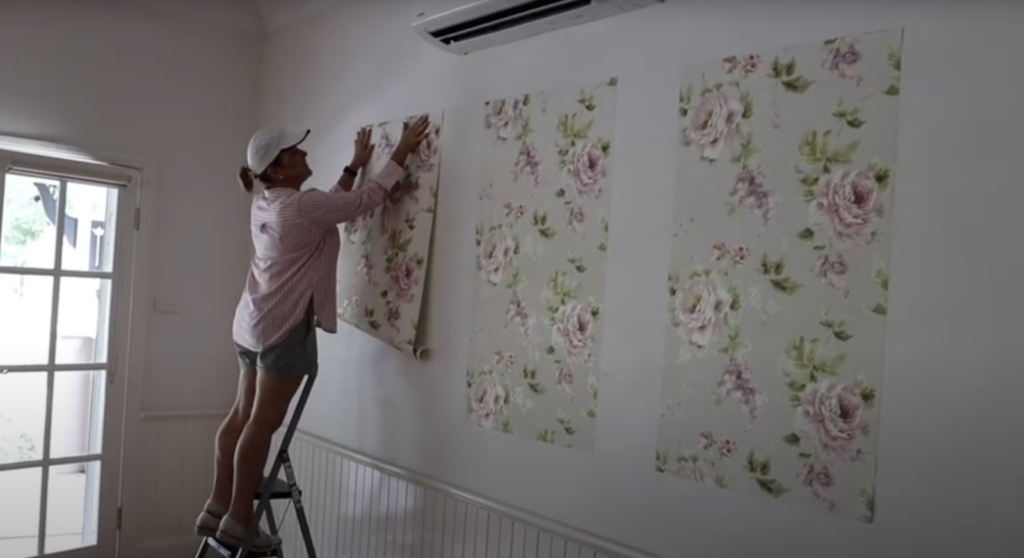
Step Three

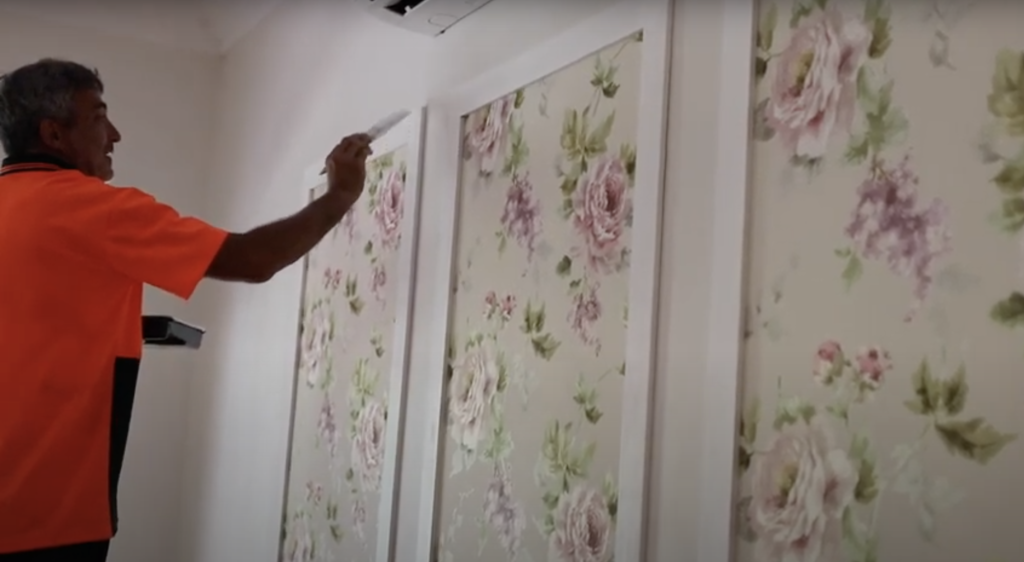
Apply your Wallpaper.

We applied our wallpaper using premixed glue to the wall with a large dense brush. Starting from the top and then easing the paper on to the wall with a sponge. Making sure that you have no air bubbles. If you do it’s as simple as lifiting it off gently and the going again.

Then it’s simply repeat this process three times.

Applying Wallpaper

Step Four

Now to frame these!

We just using simple square cut straight edge battens from bunnies. They already come pre-primed so they going to be a dream to put on!

We are going to create simple white frames around each panel. We are giving them one coat of paint and then we finish them with another one once they apply.

Step Five

The final step is to install these battens. Once they are up, we putty up the nail holes, sand them down and finish them with a final coat!

Adding final coat to frames

Watch the full video here!

Reader Interactions

Leave a Reply Cancel reply

Your email address will not be published. Required fields are marked *

Primary Sidebar

Primary Sidebar

Categories

Naomi Findlay Virtual Interior Design Service
Free Renovation Resources by Naomi Findlay

Footer

About Naomi Findlay

Naomi Findlay is an experienced interior designer, project manager and stylist who also loves sharing her passions and experience by teaching others.

You can work with Naomi in person by engaging her as your renovation project manager or interior designer, as well as remotely.
Read more

  • Facebook
  • Instagram
  • LinkedIn
  • Pinterest
  • Twitter
  • YouTube

Quick Links

  • Interior Design Services
  • Interior Styling Services
  • Virtual Interior Design Services
  • Creative workshops
  • Books
  • Free Resources
  • DIY Products
  • Privacy Policy
  • Terms for Courses
  • Terms for Products & Events

Copyright © 2015–2025 Naomi Findlay · Website care by ClickWP · My Account · Contact · Log in