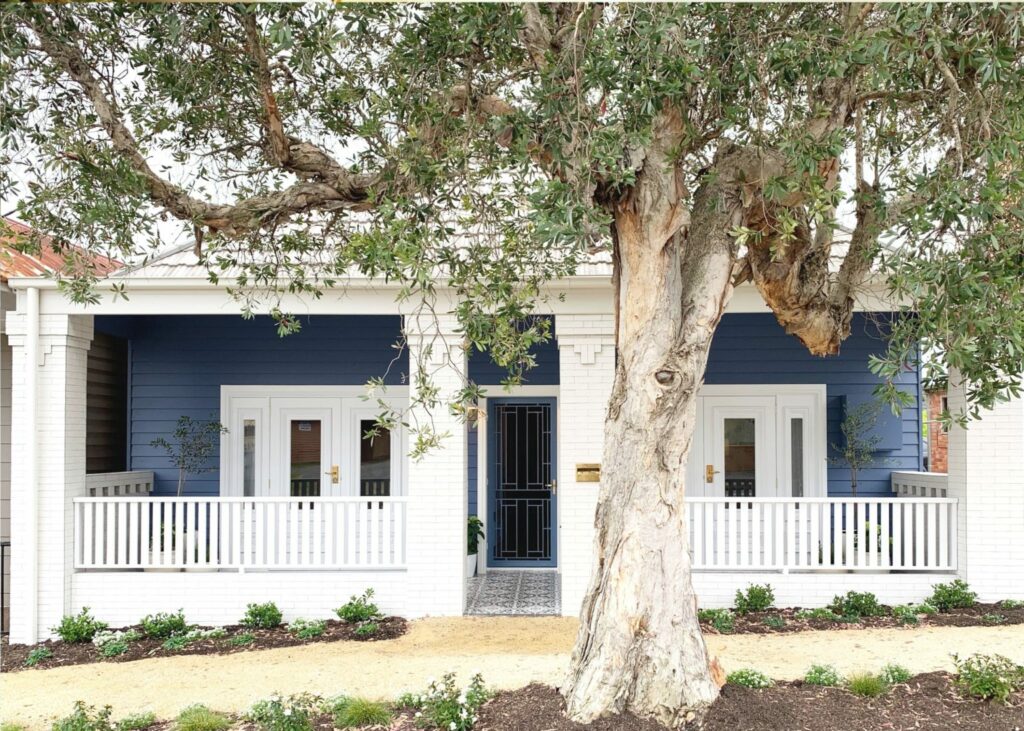
The front faced over the house plays a vital role in storytelling and setting the tone for what is really inside!
Today, we talk all about the next stage of the Carrington House Renovation
This one is a little different instead we be taking this renovation to the outside! Tackling the facade of the house and transforming this once old brick house into a breathtaking streetscape view
Continue reading as we review and reveal from start to finish another Carrington House transformation. Everything from demolition to the finer details keep reading to find out more!
If you prefer to watch instead simply click the video below
Make sure to check out our previous Carrington House Renovation and jump over to our blog page today!
So, How Did We Pull This Off?
There not really much appealing things about the front of the facade, so we had a lot of work ahead of us
We had balustrades that were cracked from the beautiful trees to ceilings full of asbestos down to a leaky roof
So in other words, it is about time that we did something about it
STAGE ONE
Here comes stage one of the renovation
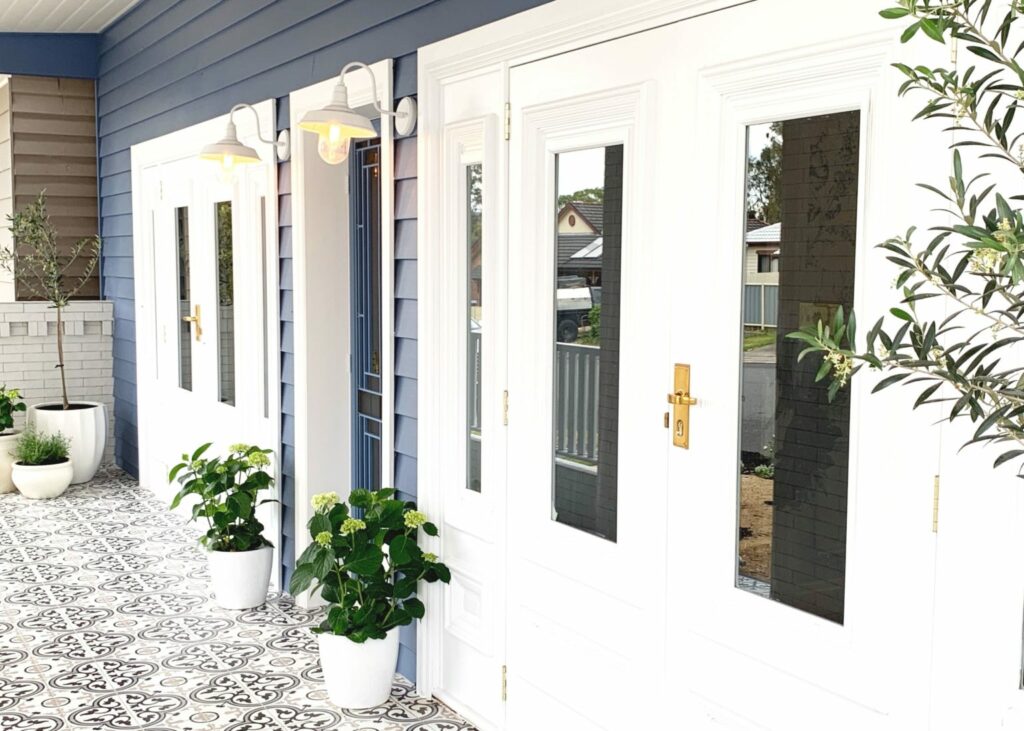
The first step was grabbing the sledgehammer and knocking down the cracked balustrades. To balance the symmetry of the house we decided to use the two beautiful french doors on either side of the rooms.
Next, it was the asbestos gone and the roof was taken down and sadly a complete rebuild
Watch the behind the scenes of stage 1 on the renovation below!
STAGE TWO
Pachire Tiling to screed the porch floor, which is going to give us gorgeous falls so when it rains the water simply runs away. We then had Andrew tile away the balustrades of the front porch with some beautiful white brick balustrade tiles.
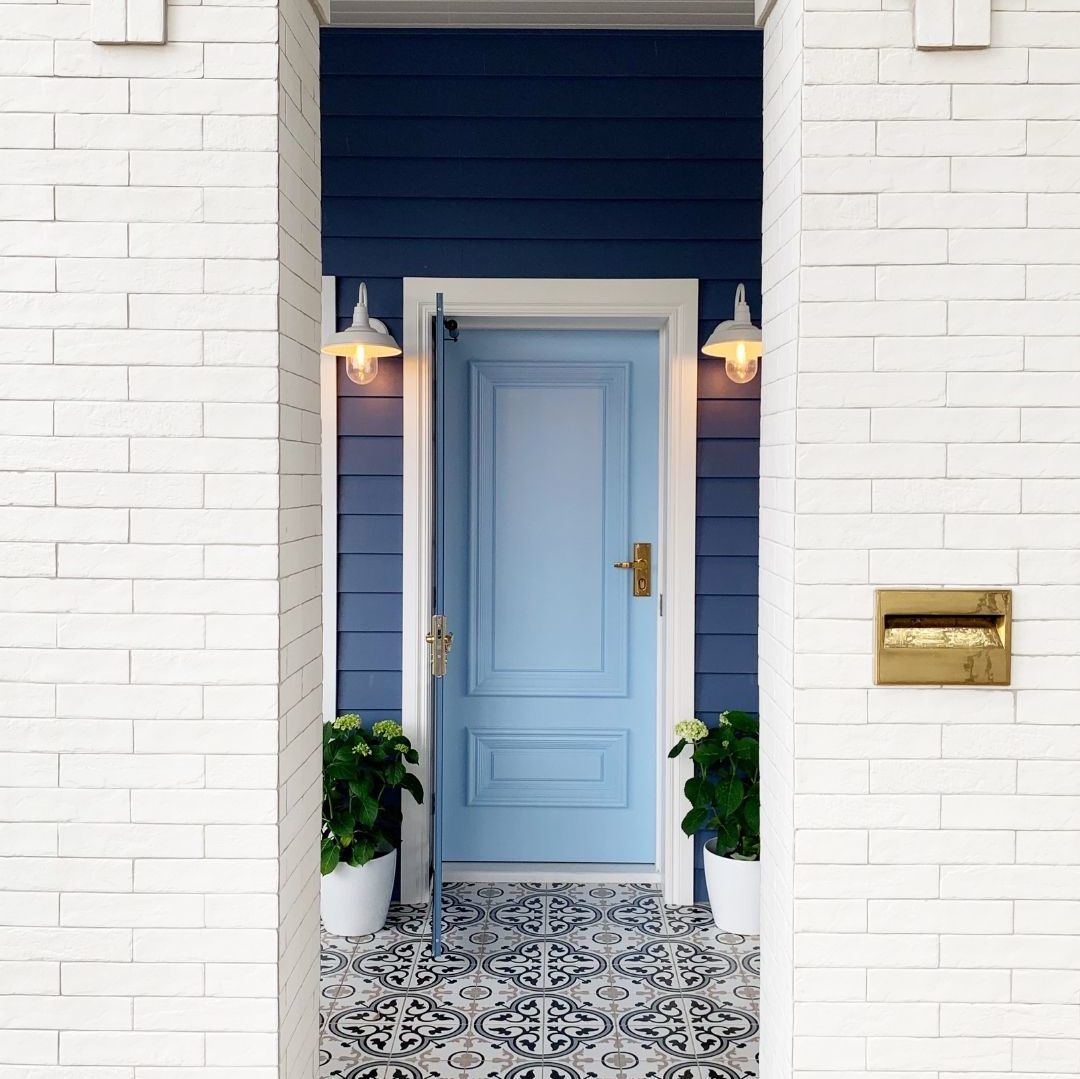
For a completely different but traditional look, we decided to go with a beautiful cast panel custom colour front screen door. We had the team from Cotton Glass in to come in and install the door to sit in front of our main door.
Watch the behind the scenes of week two below, as we chat to Andrew about the balustrades!
STAGE THREE
With doors in and tilling began, it’s time to start cladding the front facade of the house!
We had Team Ferris come in to first help set up the string lines, batten the front facade and then accept the deliveries
Now ready to add some colour! We went with a cape blue from Taubmans, and spray painted our beautiful french doors white. Keeping it super simple for these balustrades and rails with a simple clean and classic look.
STAGE FOUR
With all the construction and work side of this now up to speed, we are up to our final stage of this renovation
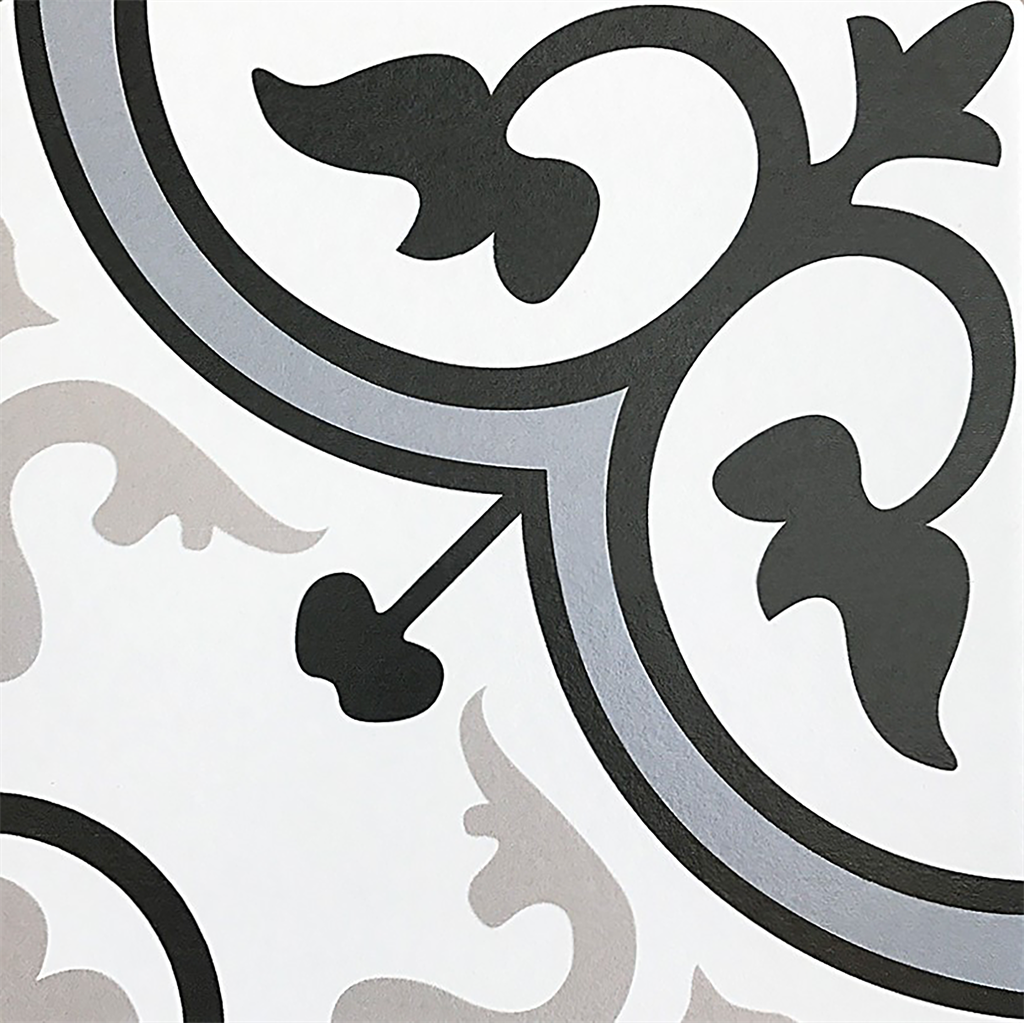
Last but not least it’s time to tile our flooring, and don’t we have a show stopper tile for you!
We have Andrew come in to help tile the floor in this beautiful grey pattern floor tiles from Beaumont Tiles.
And with the tiles all in, that wraps up our transformation of the front facade. Scroll down to check out the before and after pictures of the house!
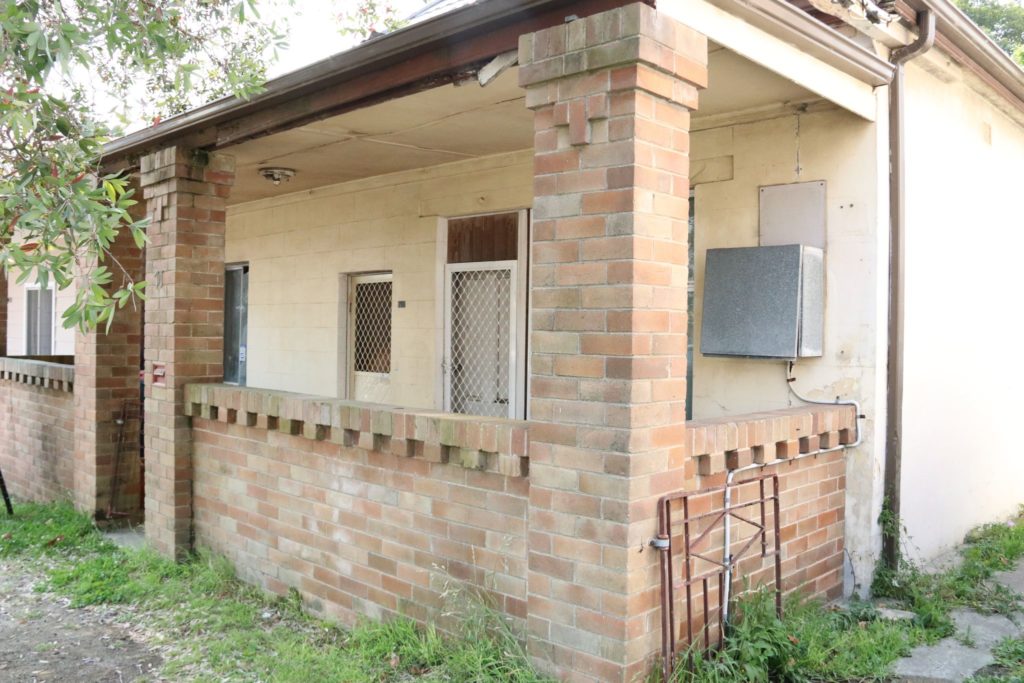
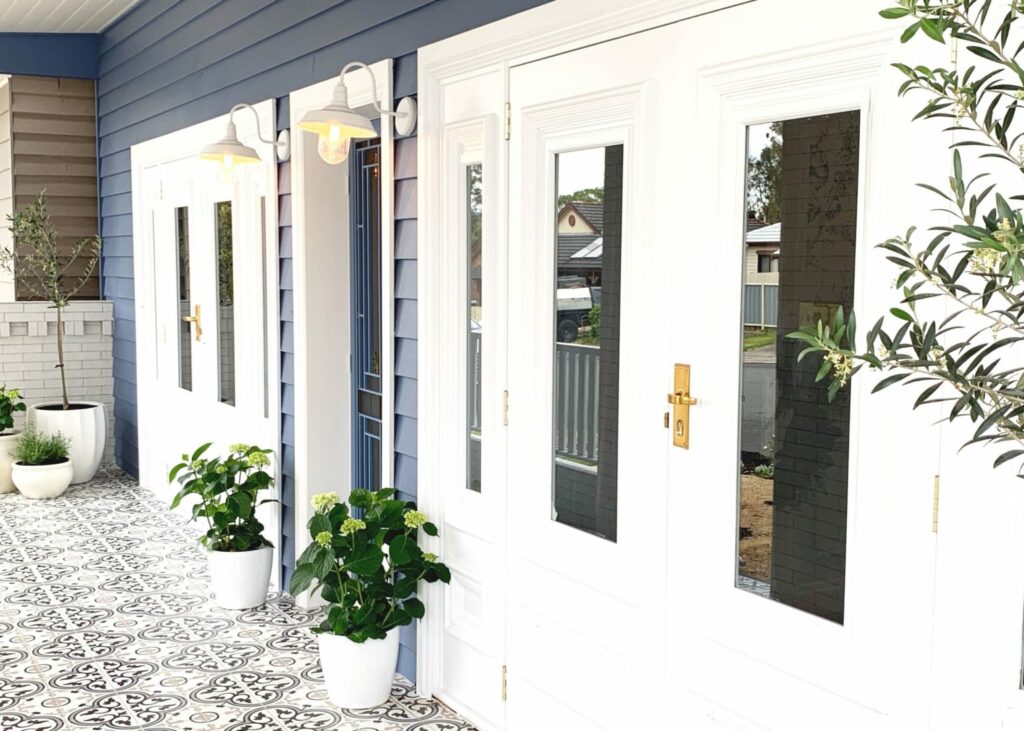
If you are wondering our exact finishes and products for the front facade scroll below…
Finishes, Products and Colours


Balmoral Cladding painted in Cape Blue with Taubmans Low Sheen Acrylic
We like to say a special thanks to our supplier and tradie team, for helping out with the reno!
Find out who helped us made our renovations dream come true…
Supplier Team:
- Beaumont Tiles
- Bristol
- Aslpec
- Gerflor
- Gyprock
- Intrim
- Hume Doors
- Cemintel
- Draperly
- Brosa
- Kalora
- Saddingtons
Tradie Team:
Looking for an easier way to plan your renovation from start to finish?
Make your dream home a reality, no stress, no guesswork with our FREE Beautiful Renovations masterclass CLICK HERE TO JOIN

 Naomi Findlay is an experienced interior designer, project manager and stylist who also loves sharing her passions and experience by teaching others.
Leave a Reply