Interested in starting a career as a Property Stylist?
Not sure how to turn this passion into a six figure career?
Start Here: Free Video Training Series
Do you have that plain wall at home that you’re on the hunt to find the perfect artwork or custom piece to hang? Well, we have a solution for you! Instead, why not create something completely different?
We show you how to quickly turn a bland white wall into a custom feature wall using some wallpaper art to create a bespoke but affordable feature.

Keep reading and we share step by step on how you can create your very own custom feature wall. If you prefer to watch instead simply click here or below to watch the full video.
What you need
- Wallpaper of your choice
- Premixed Wallpaper Glue
- Large Dense Brush
How to create your own custom feature wall?
Step one
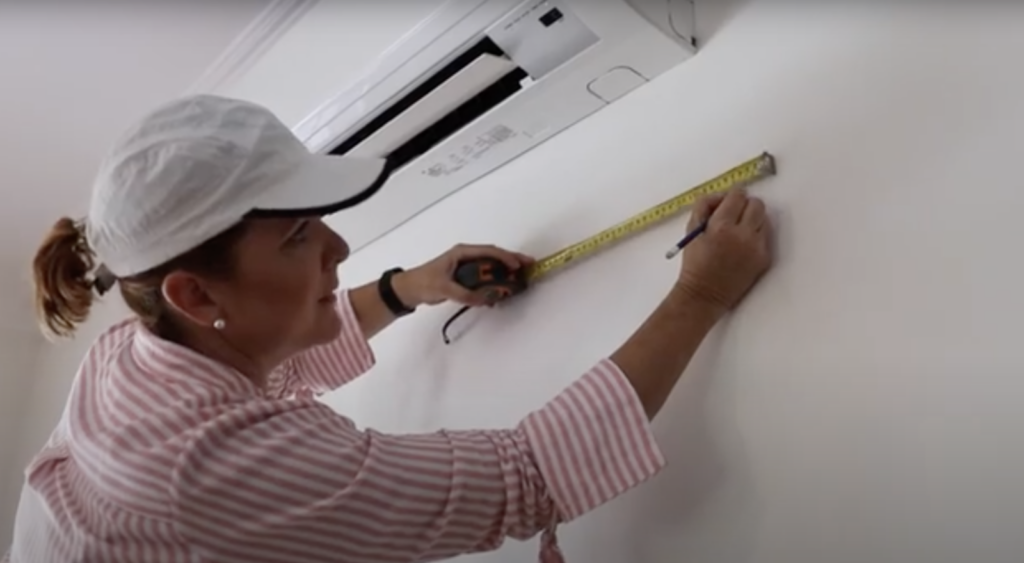
Mark out each panel with the width of the wallpaper and the spaces between each panel. We decided to have three panels at 12000 millimeters long and 120 centimeters wide, with a 200 mill gap between each frame.

Step two
Measure and cut your wallpaper. It’s okay if the lines are not as straight as you’ll be later covering it up with battens.
Step Three
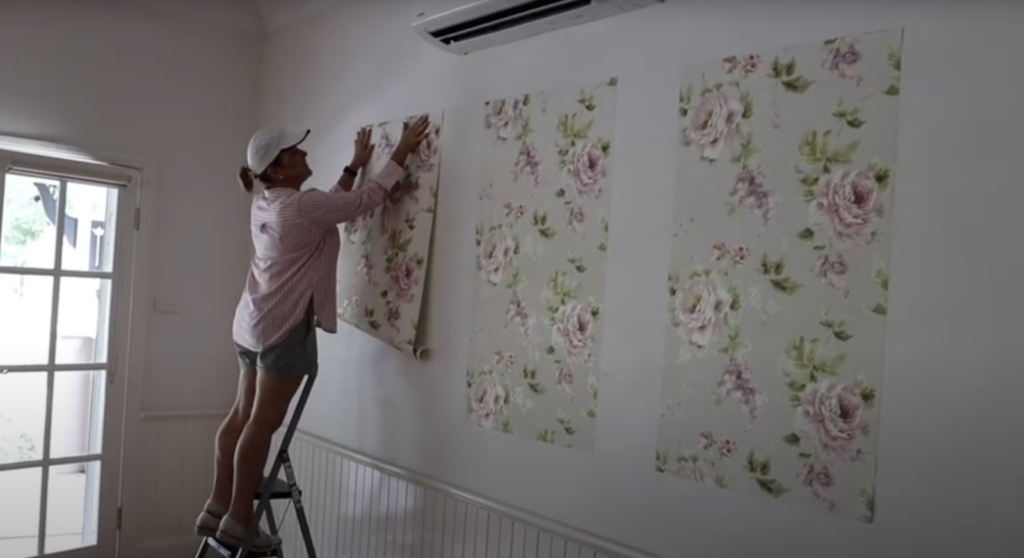
Apply your Wallpaper.
We applied our wallpaper using premixed glue to the wall with a large dense brush. Starting from the top and then easing the paper on to the wall with a sponge. Making sure that you have no air bubbles. If you do it’s as simple as lifiting it off gently and the going again.
Then it’s simply repeat this process three times.

Step Four
Now to frame these!
We just using simple square cut straight edge battens from bunnies. They already come pre-primed so they going to be a dream to put on!
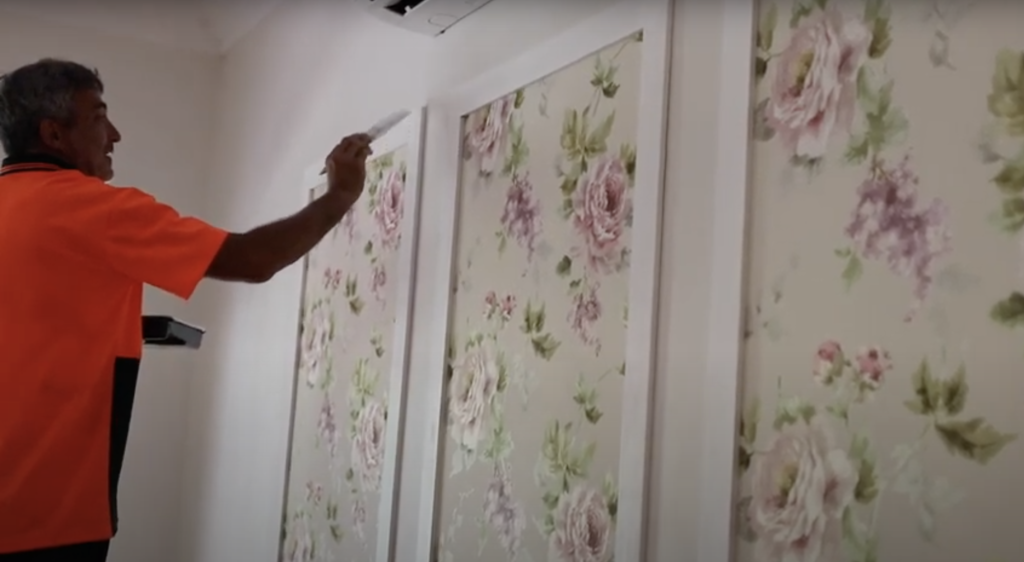
We are going to create simple white frames around each panel. We are giving them one coat of paint and then we finish them with another one once they apply.
Step Five
The final step is to install these battens. Once they are up, we putty up the nail holes, sand them down and finish them with a final coat!

 Naomi Findlay is an experienced interior designer, project manager and stylist who also loves sharing her passions and experience by teaching others.
Leave a Reply