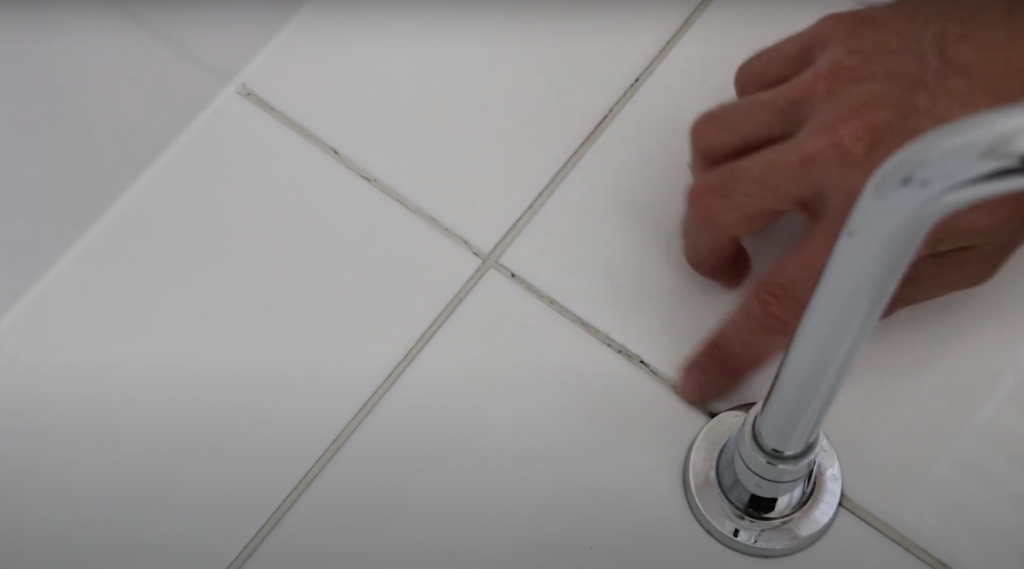
Have you ever noticed your bathroom grout changing colour? The dirty brown colour overtaking you’re used to be perfectly white grout? Well over time the moisture of surfaces tends to suck and absorb dust and products which tend to discolour the grout over time.
Say no more!
We will show you step by step on how to refresh your grout in a cheap and affordable way, transforming your bathroom to as new as ever!

If you prefer to watch, simply click the link below or simply continue scrolling to keep reading…
STEP BY STEP ON HOW TO REFRESH YOUR BATHROOM GROUT
STEP ONE
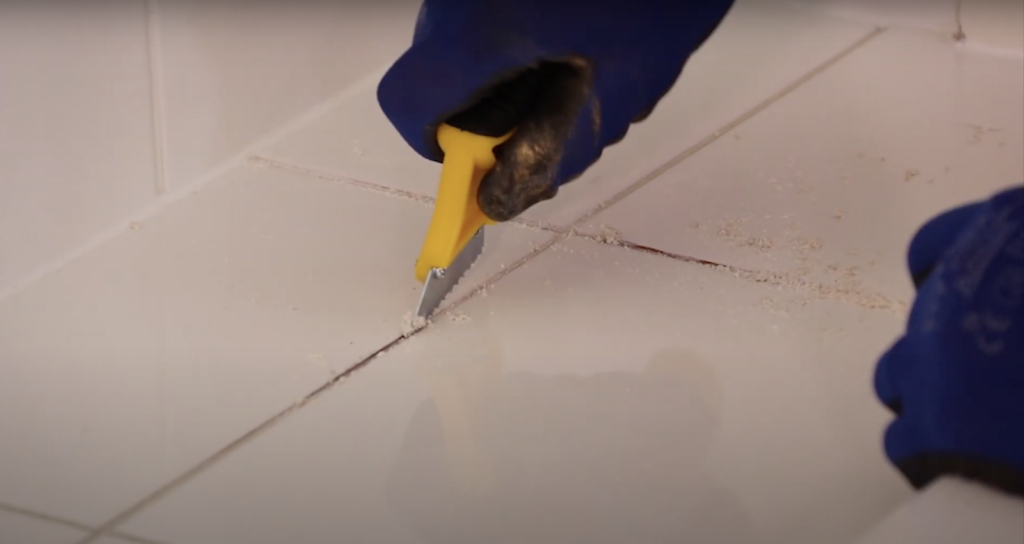
Clean the grout. Use a sharp edge of a Stanley knife to scrape off the dirt and dust.

STEP TWO
Mix up your grout to a running consistency, following according to the manufacture’s specifications.
STEP THREE
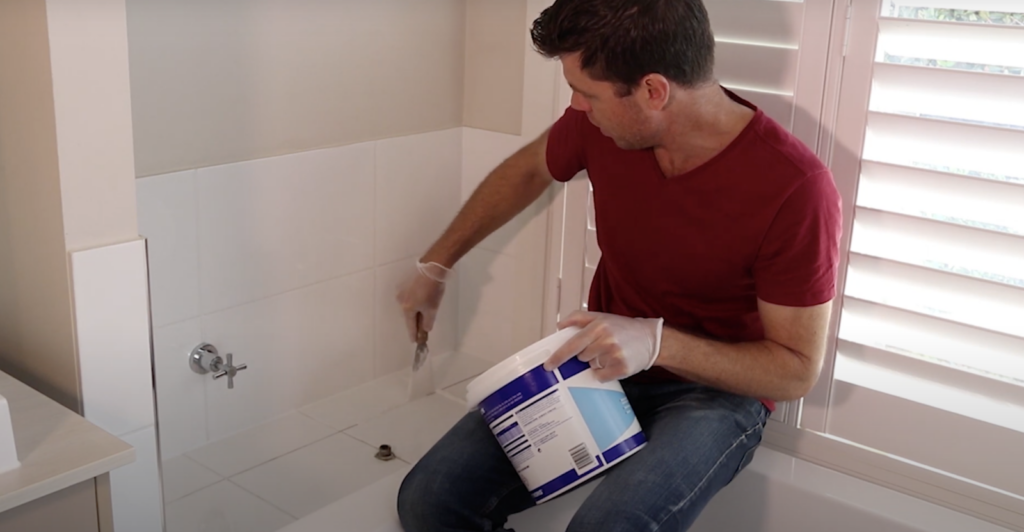
Using a spatula, add grout and smooth along and fill in lines. This can often get messy, so it important to wear gloves.

STEP FOUR
Use a specific grout sponge, to push deep inside those grout lines in order to get rid of bubbles and air.
STEP FIVE
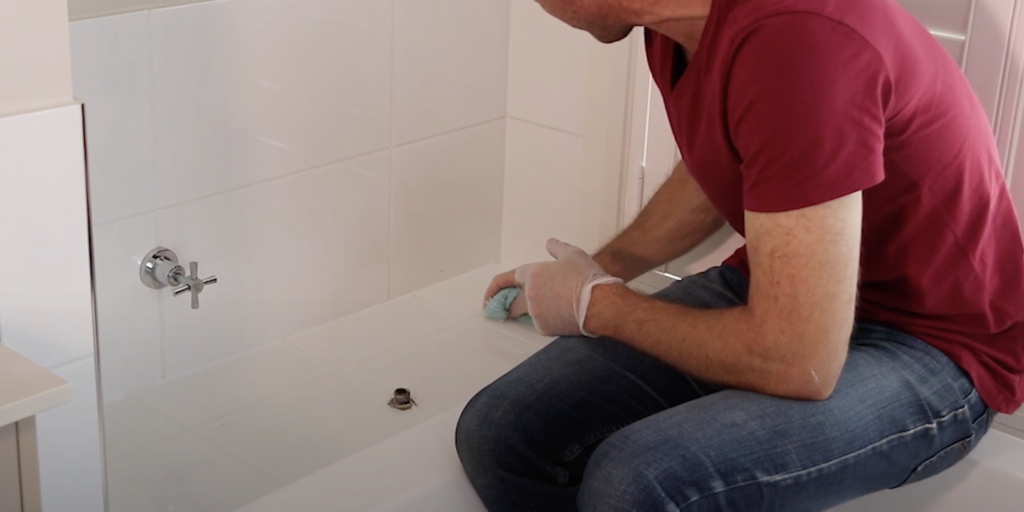
Grab a soft cloth to remove the excess from around the grout joints. Make sure that you avoid any moisture going inside the grout lines. Clean around the edges, removing rough chunky bits.
STEP SIX
Come back after the grout has started to harden so that we can do our final treatment. With a soft cloth, work it across the grout lines horizontally and diagonally just cleaning and smoothing out the excess grout off.

STEP SEVEN
Leave it for it to harden up again, then with a dry cloth clean off the remaining excess grout.
 Naomi Findlay is an experienced interior designer, project manager and stylist who also loves sharing her passions and experience by teaching others.
Leave a Reply