Interested in starting a career as a Property Stylist?
Not sure how to turn this passion into a six figure career?
Start Here: Free Video Training Series
Now these cupboards are a leftover relic of the old office space. But realistically, so unbelievably practical, you can hide the junk in them and when they’re looking slightly less cluttered than this. You can display a pile of things that you need access to in the open shelves.
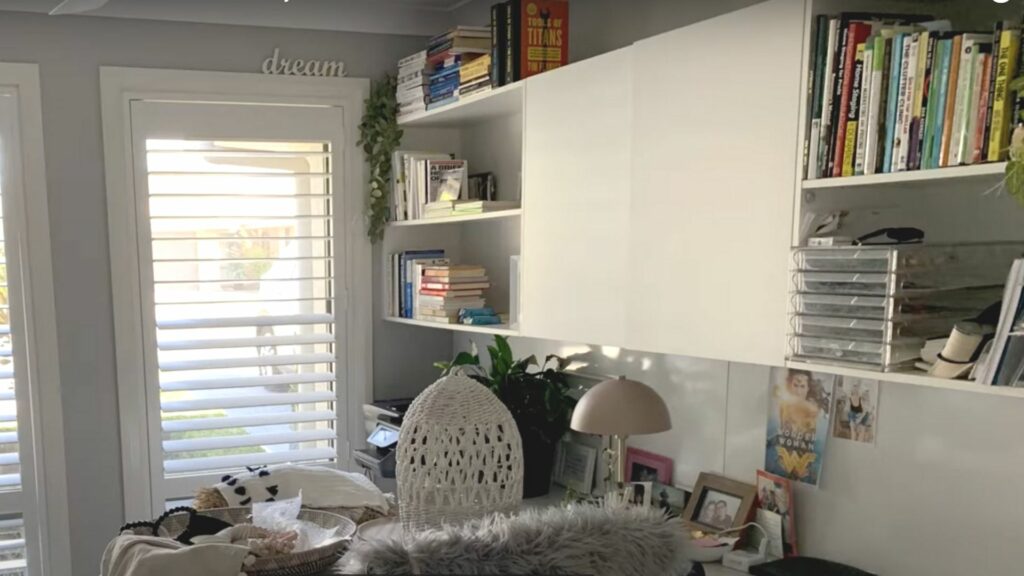
But the white melamine, it started to yellow on some of the taped areas. It’s definitely showing signs of age with the white board as this would have been installed, I’m assuming 10 years ago, the dirt gets into the edge between the taping and the front surfaces and it just starts to look a little bit grotty and in need of some love. BUT I don’t want to rip these out. These are so, so functional and it will cost me quite a bit to get this re-installed. So instead, I’m going to be giving this one a little bit of a makeover, and I think she is going to really love her new ballerina colour.
I know, I’m literally going to be transforming these from very mainstream white into a beautiful ballerina pink that’s going to offset the dabs of pink that’s in that wallpaper just perfectly in this room.
Really important to remember here, it was one of those mind-blowing minute moments for me years ago, you can get all these tile and all these laminated paints tinted. As I mentioned, this is going to be a gorgeous, soft pink, which will be amazing.
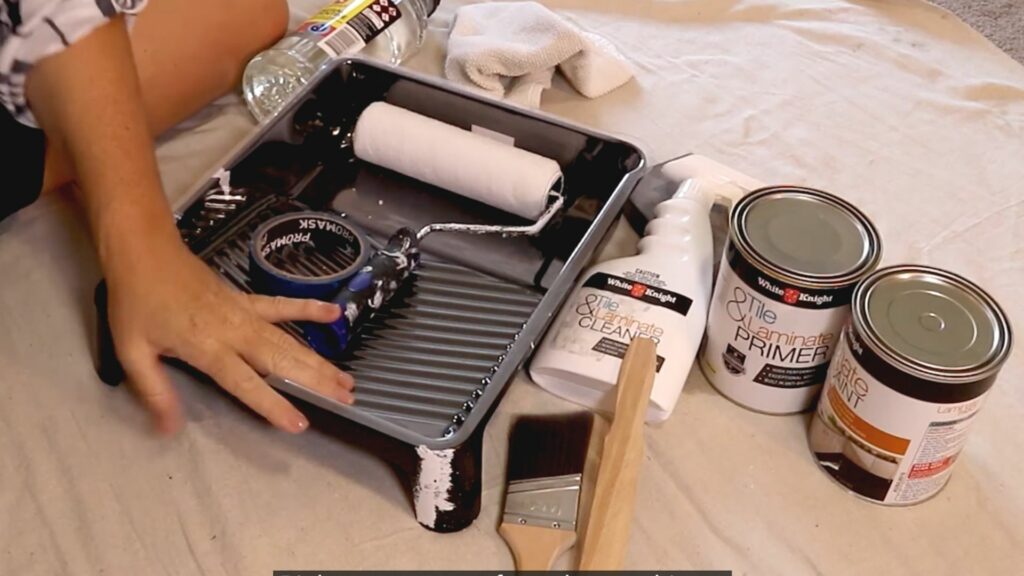
All right. Now, to transform these cabinets into a beautiful ballerina pink we’re going to need some essential items. So, sanding pad to make sure that we abrade the surface first, some cleaning tools. I’m a massive fan of making sure that you use a complete system on anything you do, I’m using the White Knight Tile and Laminate cleaner to make sure that that surface is free of body oils, grime, gunk, and just every day residue, which will mean that the system won’t stick as well if we don’t get rid of it, this is an essential step. The next one we’ll be doing is using the tile and laminate primer. Again, that’s a White Knight product, and it will ensure that we get a really high performance and exceptional adhesion with that. And then comes a pretty pink, this will be with the White Knight laminate paint. I’ve had this one tinted to a beautiful half-ballerina
Extra’s you need:
Stirring stick – it’s absolutely essential that you mix your paints so, so well.
Paint brush to cut in.
Tape to make sure that I’m prepping the service properly. A
UNi-PRO roller a short nap microfiber roller, which will mean that I won’t get that fixed stippled effect. I’ll more get a smoother effect.
Now, important to note here is that the primer is a water-base water, but the top coat, the laminate paint is a solvent-based wash up. So I do have some mineral turps on-hand for any spills, little drips, or any oopsies that I might make.
STEP ONE – Clean
STEP TWO – Sand
STEP THREE – clean AGAIN and tape up for ease of cutting in
STEP FOUR – Prime, with the White Knight Laminate primer
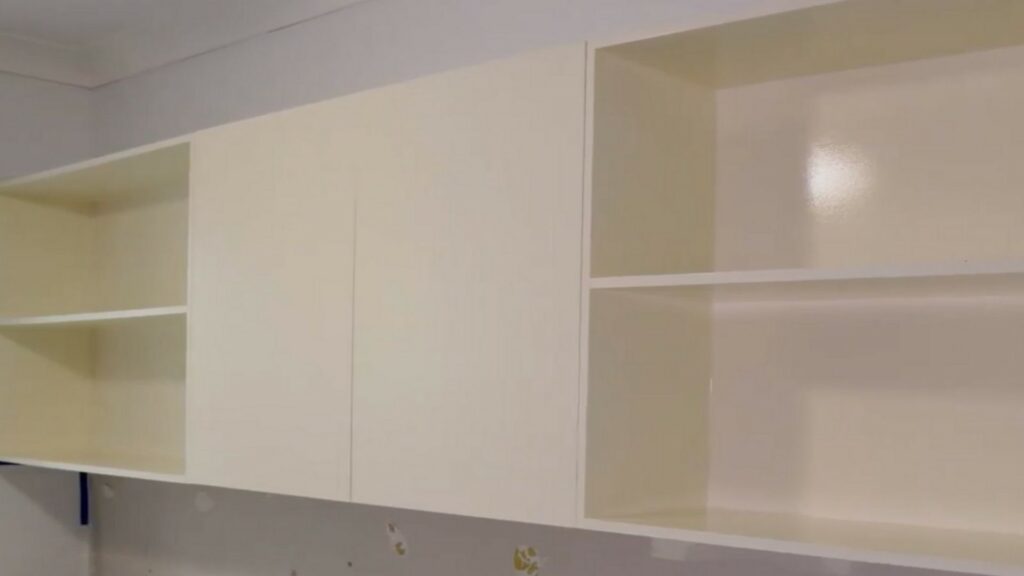
STEP FIVE – Give all surfaces a super light sand and clean
STEP SIX – Apply the first coat of the white knight paint system that has been pre tinted
STEP SEVEN – Once you have waited the specified time (yes read the tin) apply the second coat.
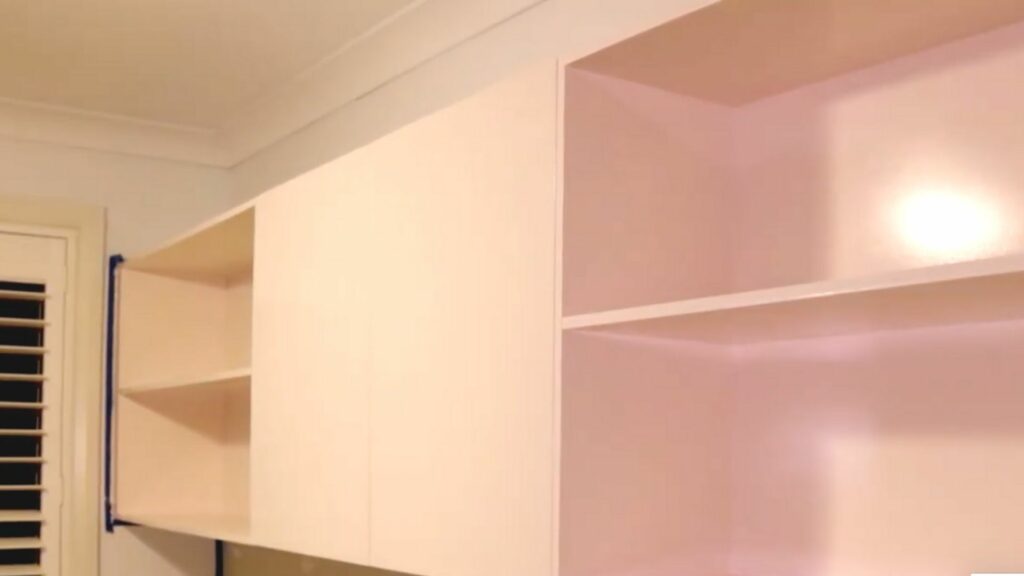
The good news is I am super thrilled with how this has turned out. And the even better news is, is that the family are happy with the transformation too. Thanks for watching. Did you know we run workshops for all things DIY and renovation? I put the link below with our schedule for the rest of the year. Hope to see you there sometime soon.
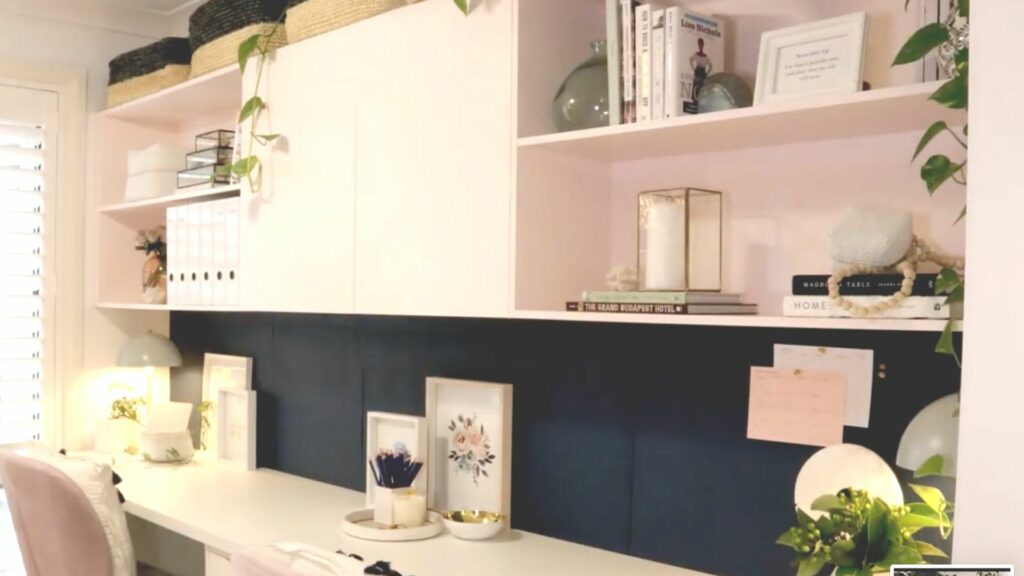
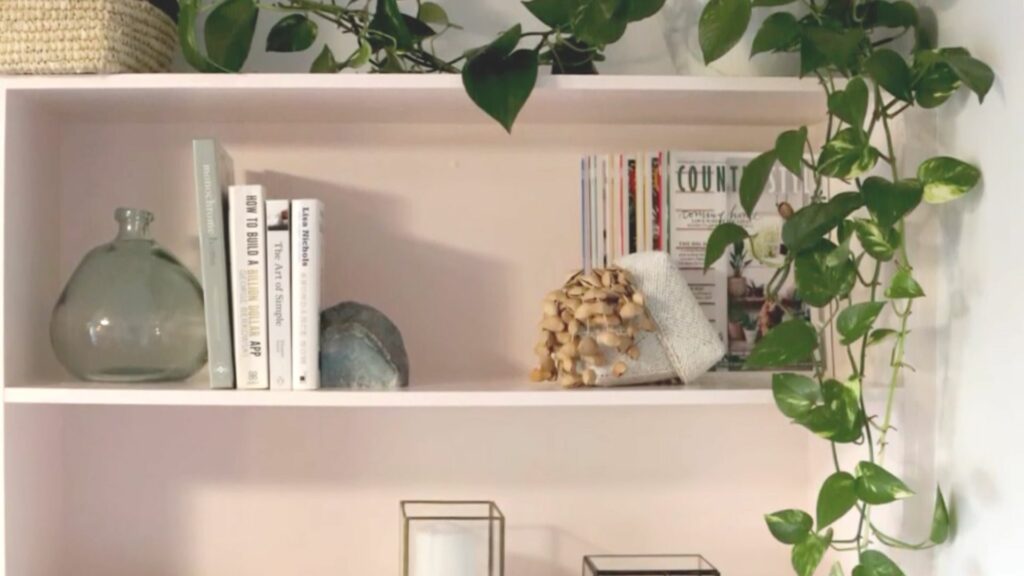
If you want to see the entire make over of this home office you can watch it all happy HERE


 Naomi Findlay is an experienced interior designer, project manager and stylist who also loves sharing her passions and experience by teaching others.
Leave a Reply