Welcome back to our heritage house renovation and to Carrington House, a little cottage that has seen better days but has completely captured my imagination with its history and potential.
In part one, we took a quick walk through the property after settlement and discussed some of the initial and long term challenges facing the team and I. Most pressing was the structural integrity of the property and the fact that it wasn’t habitable in its current state thanks to not only the structural instability but the contaminants, dust, dirt, pests and everything else!
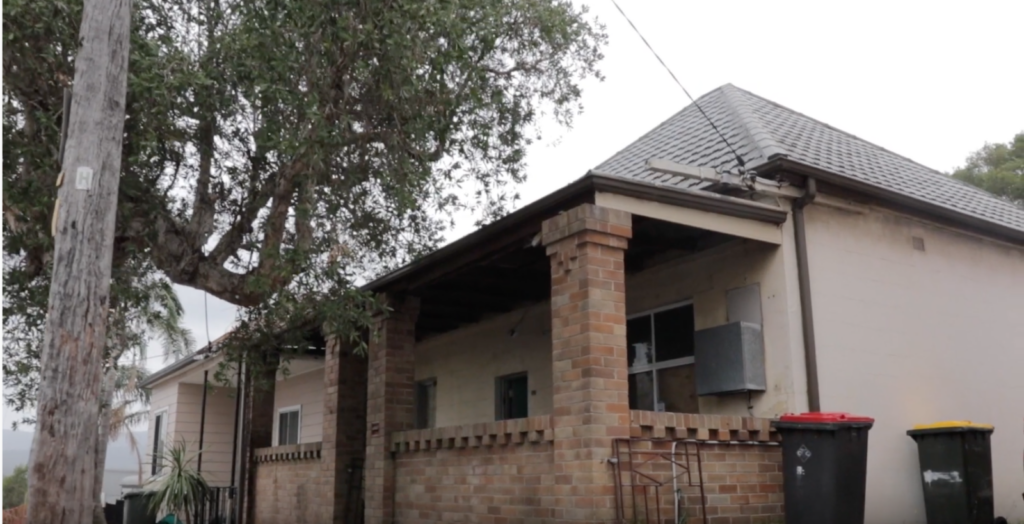
As a hands on, slow renovation, my team and I will be moving into the property which means that my first task is to make the property safe. This will mean changing out some doors, making the floor safe, boarding up some spaces and sorting the eletrics to make thew property electrically safe.
I wanted to take you on a walk through the property to show you each of the spaces ‘au naturale’ and share what we need to do to each of them to get them to a standard where they can actually be used by my team and I!
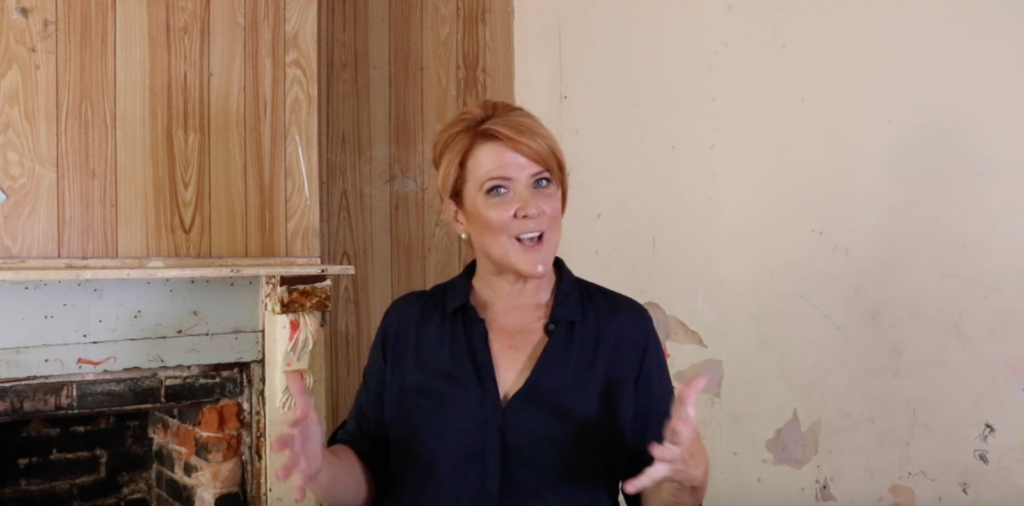
The original Carrington House living space
I am assuming that this room is probably the original living space or living room of the house. We’ve got the beautiful traditional fireplace (though I’ve got no idea whether it works!) and I dare not touch the mantle as I’m not sure if it’ll stay upright!
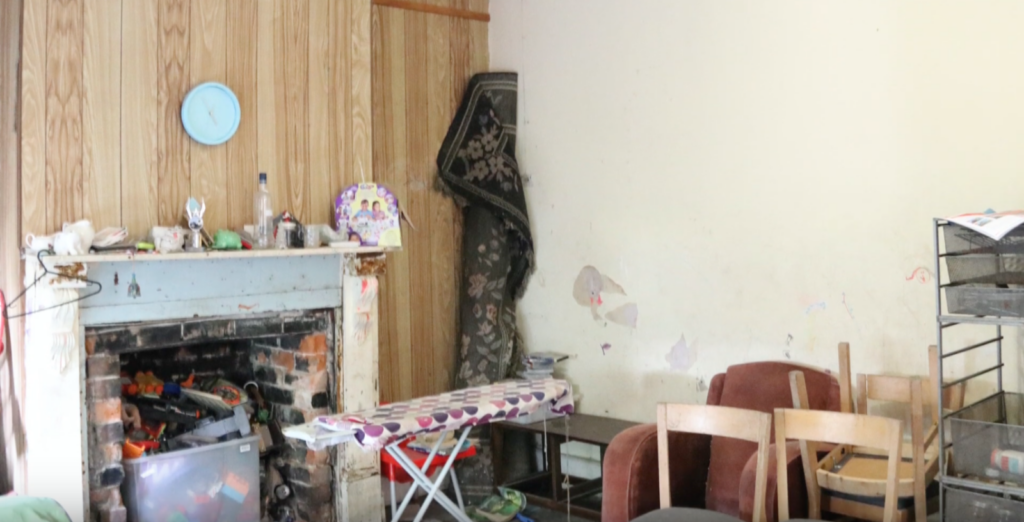
The walls have some pretty interesting drawings on them and the floor is falling to pieces. We do have a working window for ventilation, which is great, but we also have access onto an area of the house that is not safe, weatherproof or secure, so I’m actually going to discount that access and put an external door on this room. I will also need to do a massive cleanup using a big, powerful wet and dry vacuum.
Living space two
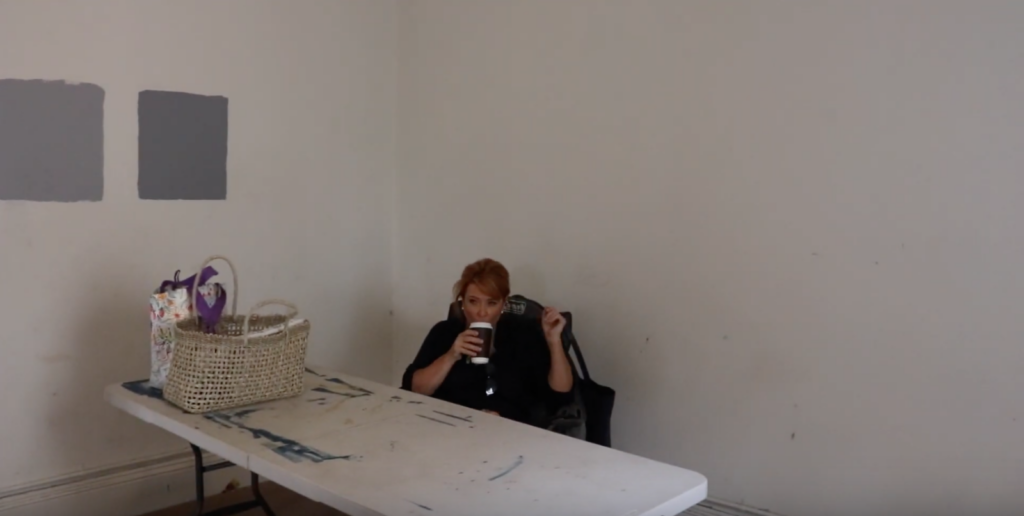
This room is probably one of the best rooms in Carrington House. It’s already had some chipboard laid on the floor by the previous owner, the walls have been painted and clad with gyprock, and the window is working. I imagine that the chipboard is probably hiding a multitude of flooring concerns that we will need to check, but after we’ve done that, given the space a good clean and made is safe electrically, we should be able to use this as an office.
The unusable space
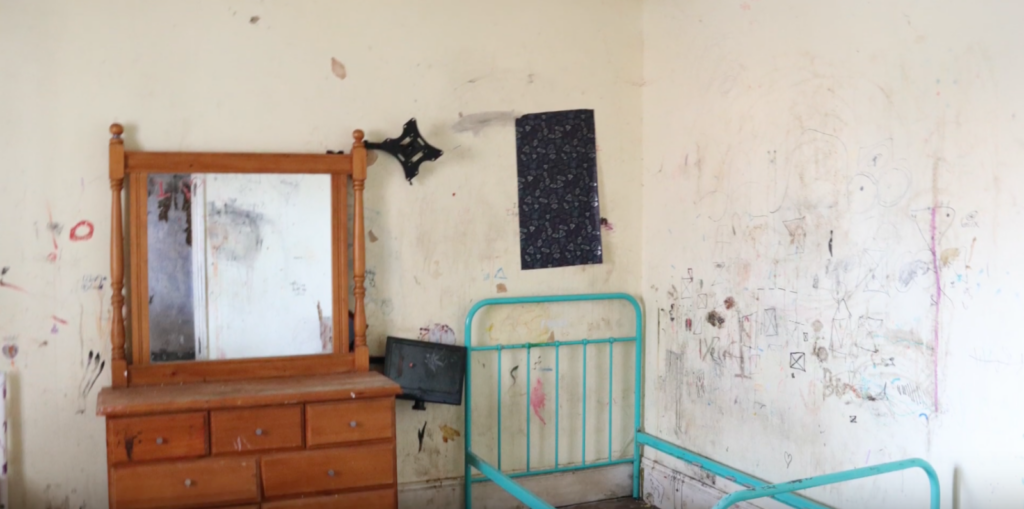
To be honest with you, in all my years of renovating, I’ve never seen anything like this room. The space is quite visually disturbing and also in really bad condition. The floor falls away. The skirt is coming off the walls. There’s render missing, holes through the walls into the hallway. Electrical wiring is hanging everywhere and the window doesn’t even have a frame around it, so it is a flapping pane of glass.
I spent some time yesterday just reading the walls and the stories of the children that have written on them and it’s quite distressing. I’ve made the call that I’m actually going to board this room up. I don’t feel that my staff need to see it or be exposed to it. The next time we see this room will be when I am demolishing it, and giving it a pile of love, great energy, and a beautiful new life.
The second front room
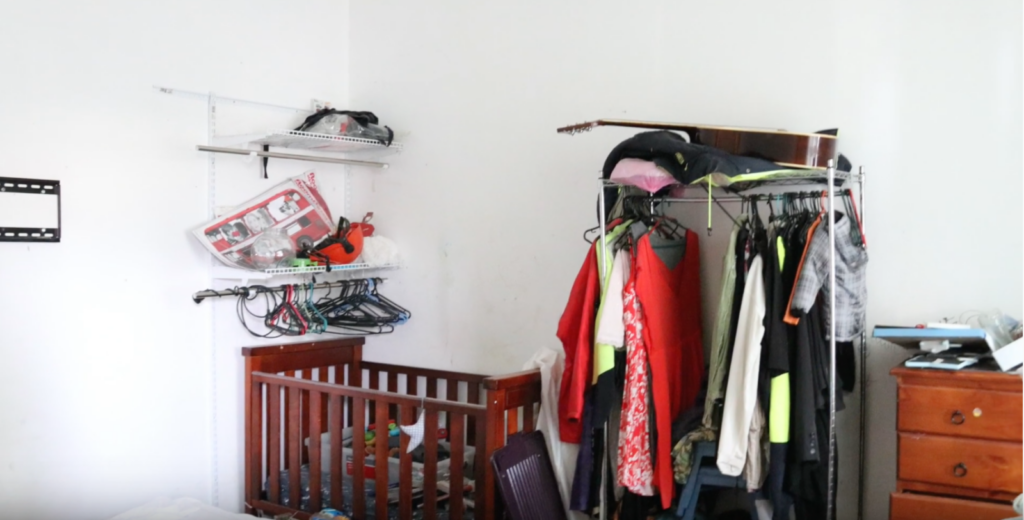
Carrington House has two front rooms with this being the second one. This room actually has a separate entrance which has a really thin, easy to kick in, front door, as well as a window that doesn’t appear to open. One of the most notable fixtures in here is that it has been battened and gyprocked. I actually think that this room was in use, but for us, it’s not safe the way it is. The floor is completely unstable and has fallen away in places.
I suspect it may have something to do with water damage as, when I first viewed this property, there was a water main just outside that had been continually leaking and this room used to have a very pungent mouldy smell. My role over the next week is to bore some holes into the floor to let some of that moisture out, vent the room as much as possible and give it a cleanup.
The front entry way
This part of the house certainly sets a statement! We have gyprock and render hanging off the walls, an old alarm system, an old veneered front door and broken security screen. The floor here is actually quite stable thanks to three levels of ply and timber. There’s also quite a bit of termite-damage. For now, I’m just going to make it electrically safe, give it a great cleanup, and then I’m just going to sit with it. I think it’s going to see a lot of traffic during the renovation and may, in fact, be one of the last spaces that we tackle.
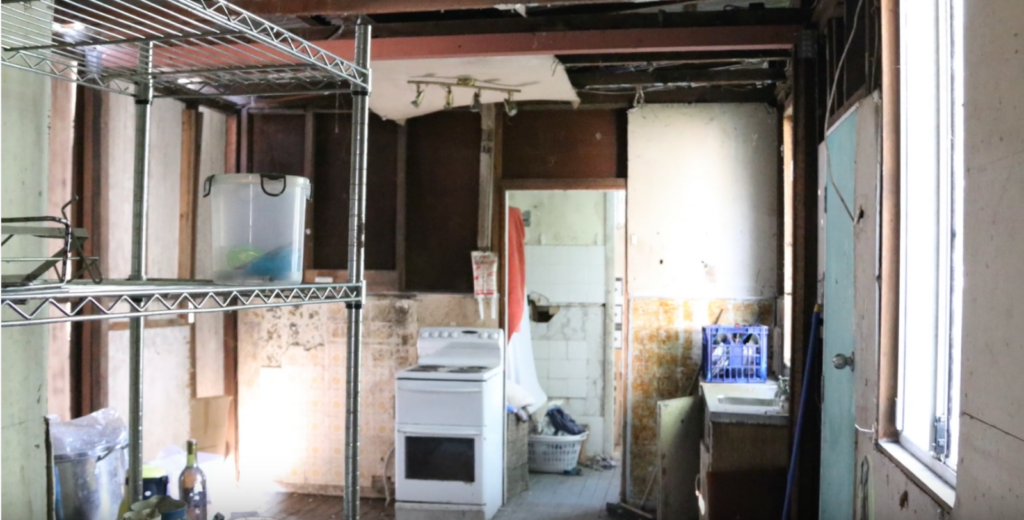
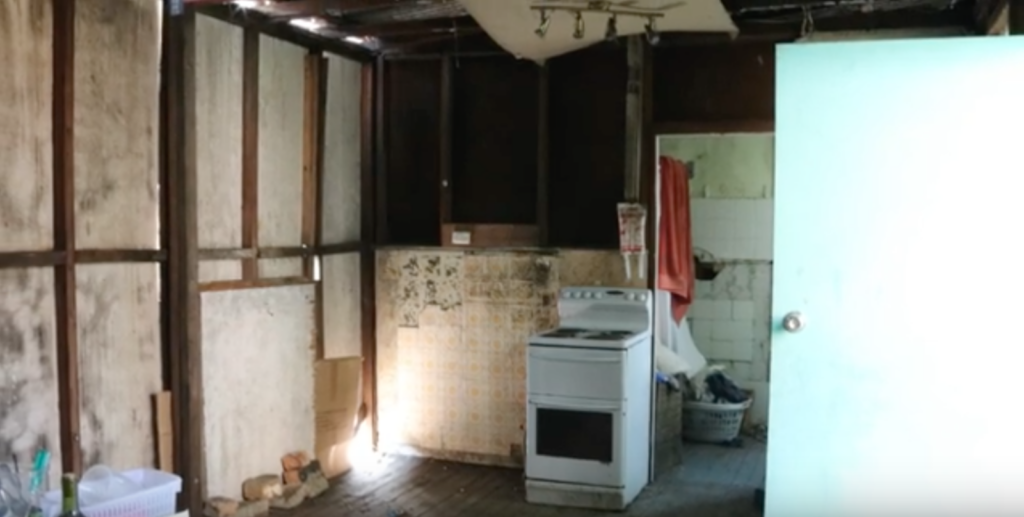
The kitchen and dining area
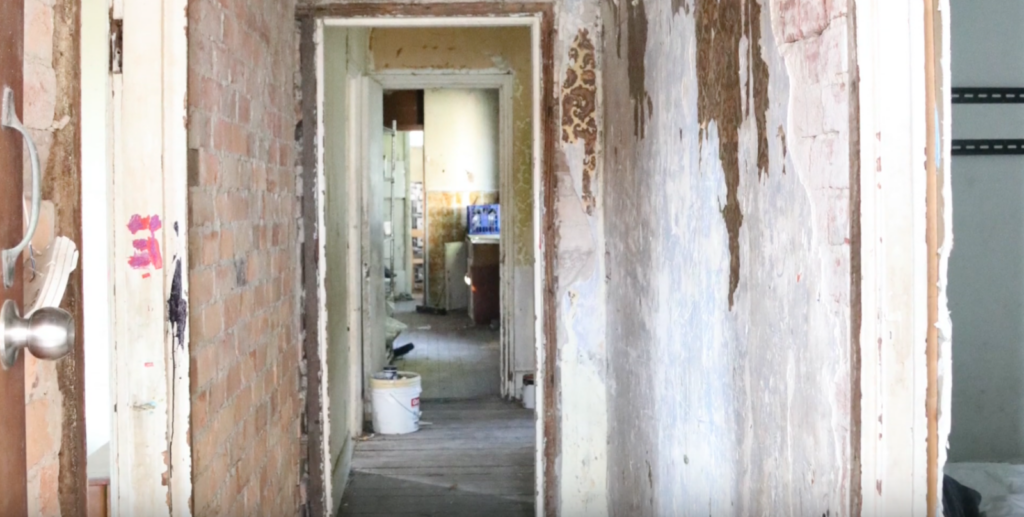
This is a bit of a disaster area! At the moment, this place is beyond making safe to work in. What I’m actually going to do is clean this up a bit, make sure it is free of contaminants and structurally safe to walk through then I will shut this section off from the main house.
The bathroom and laundry
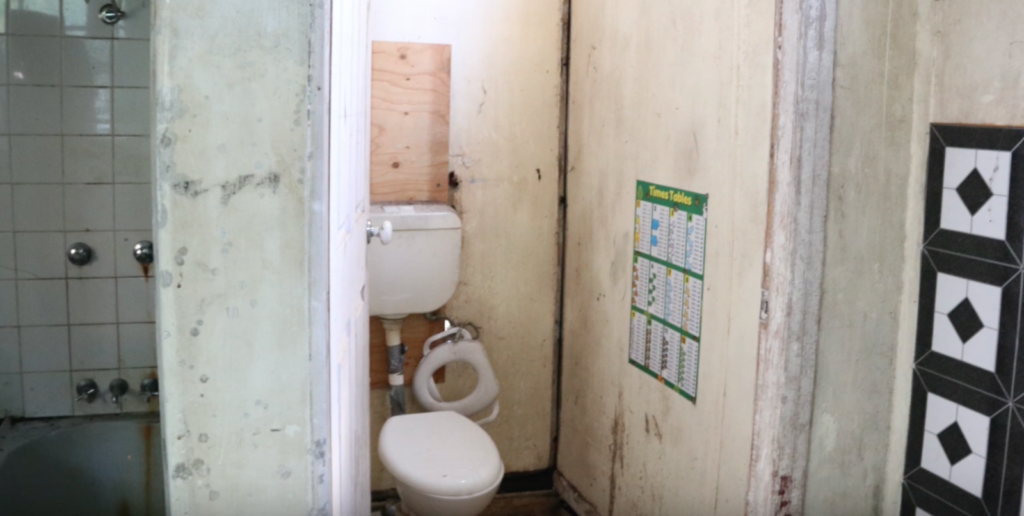
The last room is probably one of the worst areas of Carrington House; the bathroom and the toilet/laundry. This, without doubt, is unbelievably structurally unsafe. We do need to be able to use the toilet whilst we’re working here so I’ve got my builders on site today to underpin this entire floor space to make it safe to walk on. At the moment. I can’t get further in than the doorway without risking falling through the floor. It’s absolutely mind boggling how the toilet has managed to not fall through the floor when the only thing holding it up is some old rotted floorboards.
Once the floor is underpinned, I’ll be boarding up part of this section, because I really don’t want my team or anyone who visits the site to have access to it. All we’ll need to get to is the toilet when we’re in need.
There you have it! A walk through of Carrington House to give you a very clear idea of the ‘before’. Now bring on the ‘after’!
Want to learn how to DIY renovate? Come along to one of my live workshops!


 Naomi Findlay is an experienced interior designer, project manager and stylist who also loves sharing her passions and experience by teaching others.
Leave a Reply