Love the look of a beautiful, bespoke pendant light but not so crazy about the cost? Do I have the solution for you! I’m going to show you how to create a DIY pendant light quickly and easily (and on a budget).
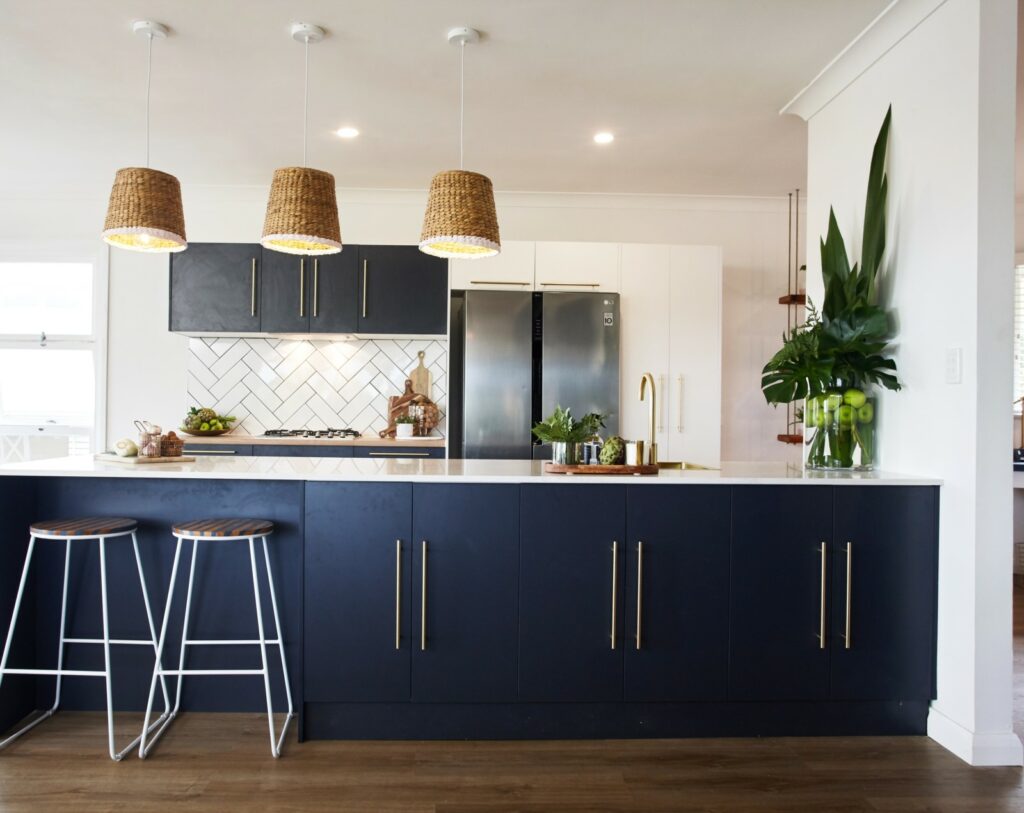
Beautiful lighting on a budget
As you’ll all know, I’m a massive fan of the transformative effect of good lighting and the impact it can have on your reno. Some of our favourite fittings don’t come cheap however, meaning they’re often out of reach for your project.
A DIY pendant light is an easy and stylish solution for achieving the look you’re after, at a fraction of the cost. I’m going to show you how to create your very own DIY pendant light. All we’ll be using is a few simple bits and pieces that are easily available from your local hardware shop or even online.
How to create a stylish hanging basket DIY pendant light
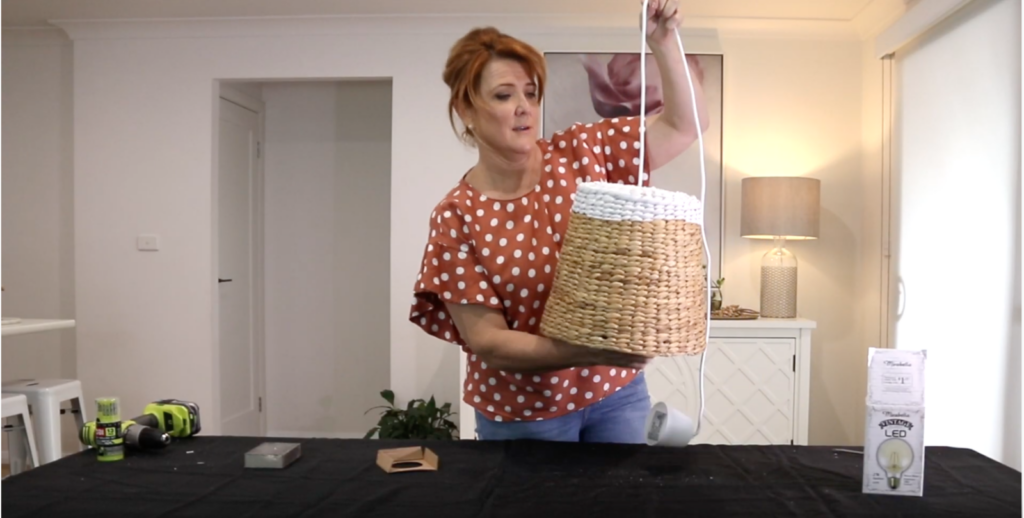
I’m using a woven basket (from Kmart!) paired with a simple lighting mechanism to create the pendant itself, while a funky paint job and beautiful bulb will turn it from basic to a one-of-a-kind piece.
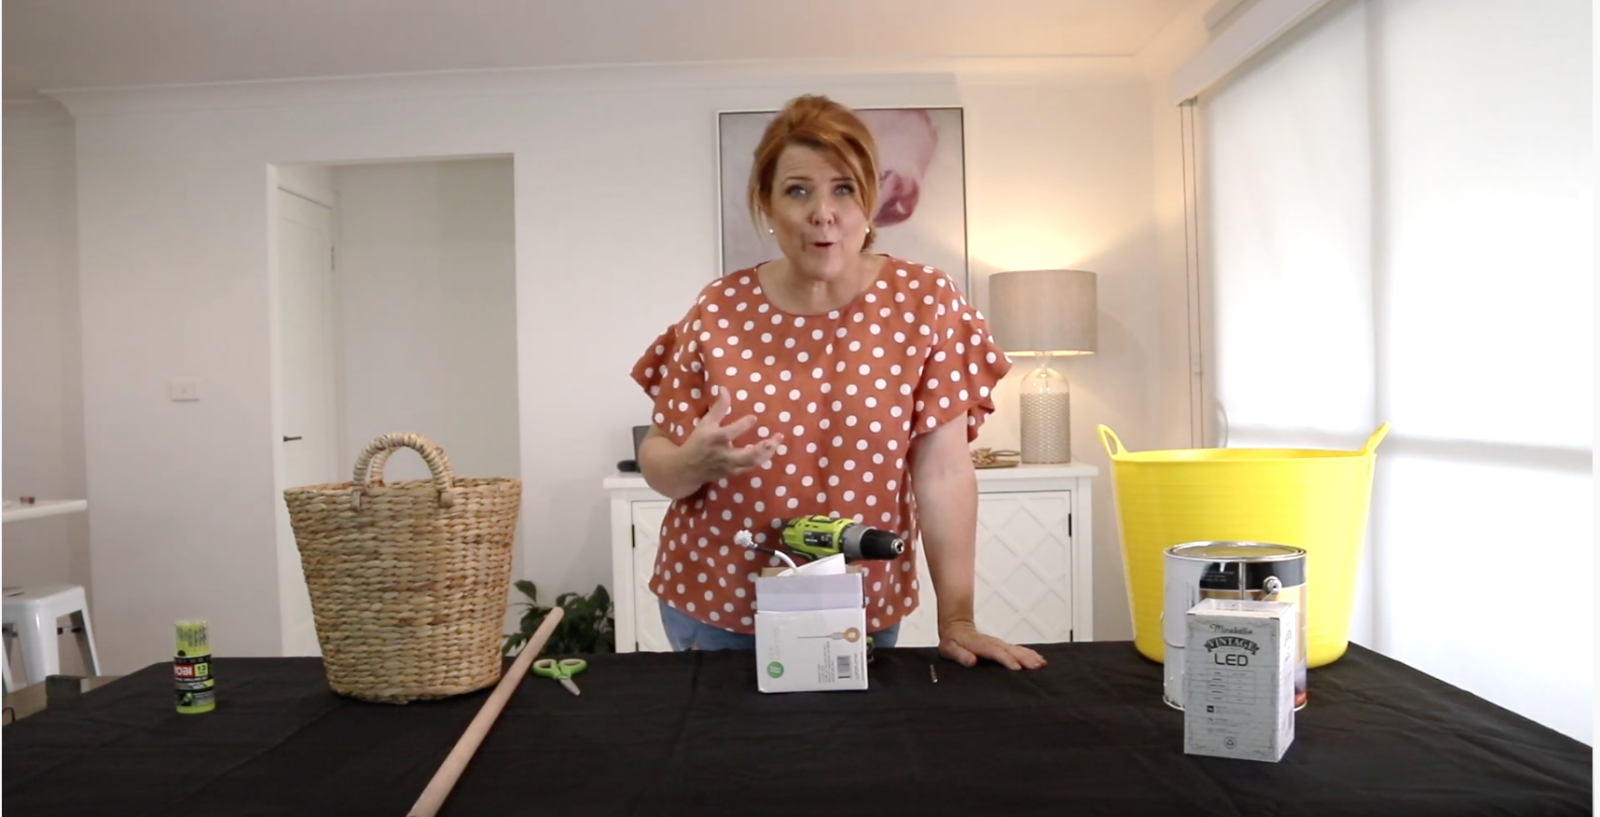
What you’ll need
- A basket (I purchased mine from Kmart for approximately $8)
- A lighting mechanism (available from most electrical lighting suppliers or online)
- A drill and appropriate drill bit
- Your choice of paint
- A low wattage light bulb
How to do it
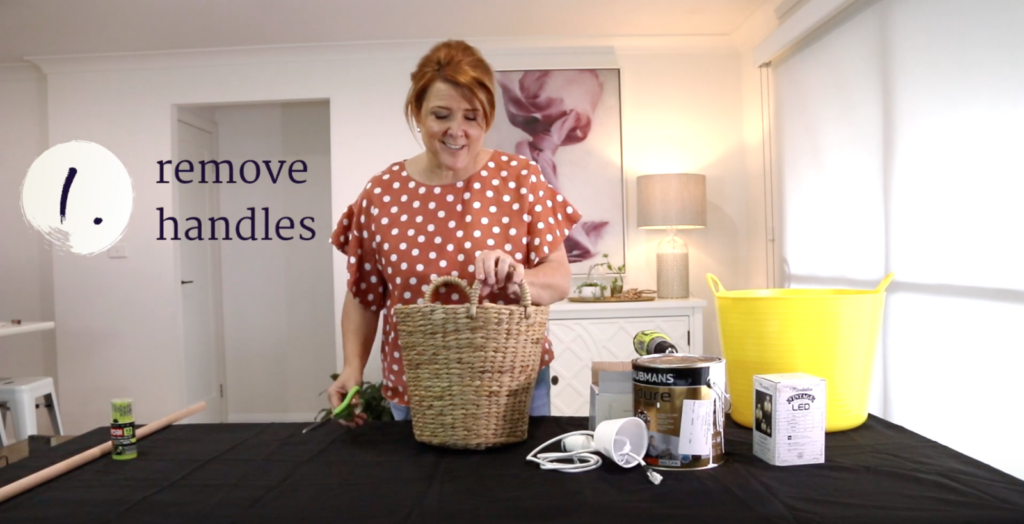
If you’re using a basket with handles, you’ll need to remove them first. Use a pair of scissors to carefully cut off the handle fixings and slide the handle out gently.
Create a hole for your lighting mechanism – You will need to drill a hole in the base of the basket that is big enough to feed your lightning mechanism cord to fit through. Baskets are generally made from natural fibres so take it slow and steady with the drill and only make the hole as big as it needs to be.If you’re having trouble fitting the top (bulkier) part of your lighting mechanism through, you can simply disconnect it and get your electrician to reconnect those points for you.
Clean things up – Make sure to gently dust or wipe your basket down before painting to remove any leftover drilling dust or other bits and bobs that could get in the way of your paint job!
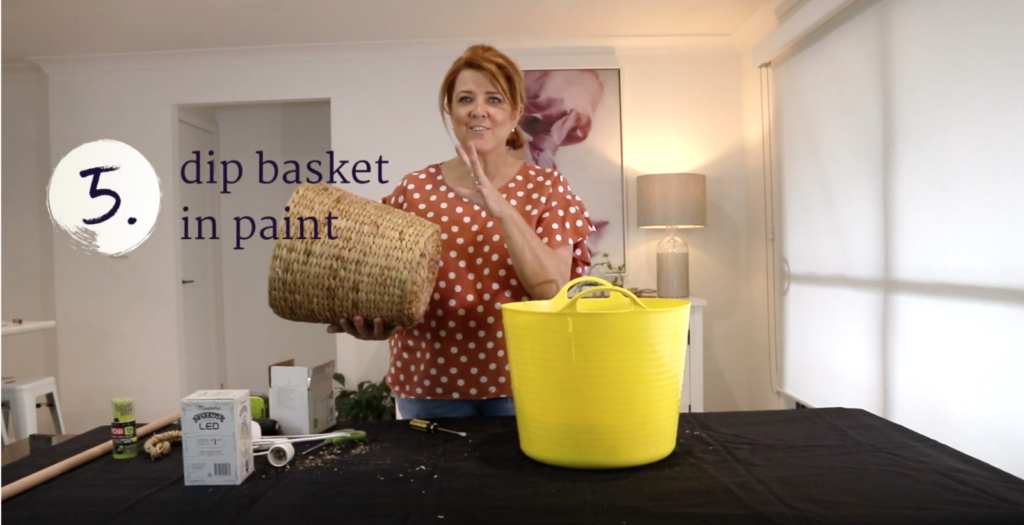
Painting time – choose your shade and remember to mix well! I am actually using some leftover paint which I’ve watered down slightly. I’d never recommend doing this for an actual paint job but for crafting purposes, it’s fine. Have a think about the painting effect you’re hoping to achieve. Due to the natural wave of the basket, I’m going to use a dipping technique and dip the base of my pendant into my prepared paint but you can choose whatever paint effect you like! Because I’m ‘dipping’, I’ve poured my paint into a larger sized bucket that will fit my basket.
Dip it – Holding the basket firmly, dip your basket slowly into the prepared paint. Only submerge it to where you want paint coverage. Let it sit there for a minute or two so that the natural fibres can absorb the paint before gently lifting out of the bucket and away from the paint and hold until it’s touch dry.
Thread through your mechanism – Once your basket is touch dry, carefully thread through the lighting mechanism and tie a very loose knot in the cord just above where the bulb fitting will sit.This will stop the cord from being pulled any further through.
Screw in your bulb – I’ve chosen a really big and beautiful bulb but you can choose whatever you like! Just make sure it’s as low wattage as possible to prevent any issues with the natural fibres.
And you’re done! This is just one way of creating your very own custom pendants. There are plenty of other ways to customise your lighting from bigger baskets to different materials and painting techniques, the only real limit is your imagination!
Want to have a go at this yourself? Grab your FREE DOWNLOAD Cheat Sheet for this and many by CLICKING HERE
Love Naomi’s design tips? Check out more here!


 Naomi Findlay is an experienced interior designer, project manager and stylist who also loves sharing her passions and experience by teaching others.
I want to post on your site https://www.naomifindlay.com/
what is your site price?
waiting for your reply
thanks